
Infinity Checkout on Shopify
This guide walks you through securely integrating Pine Labs as a payment provider on your Shopify store—enabling a smoother checkout experience, support for multiple payment methods, and improved customer satisfaction.
Integration Steps
Follow the below steps to integrate with Pine Labs Shopify plugin for D2C Brands.
1. Installation
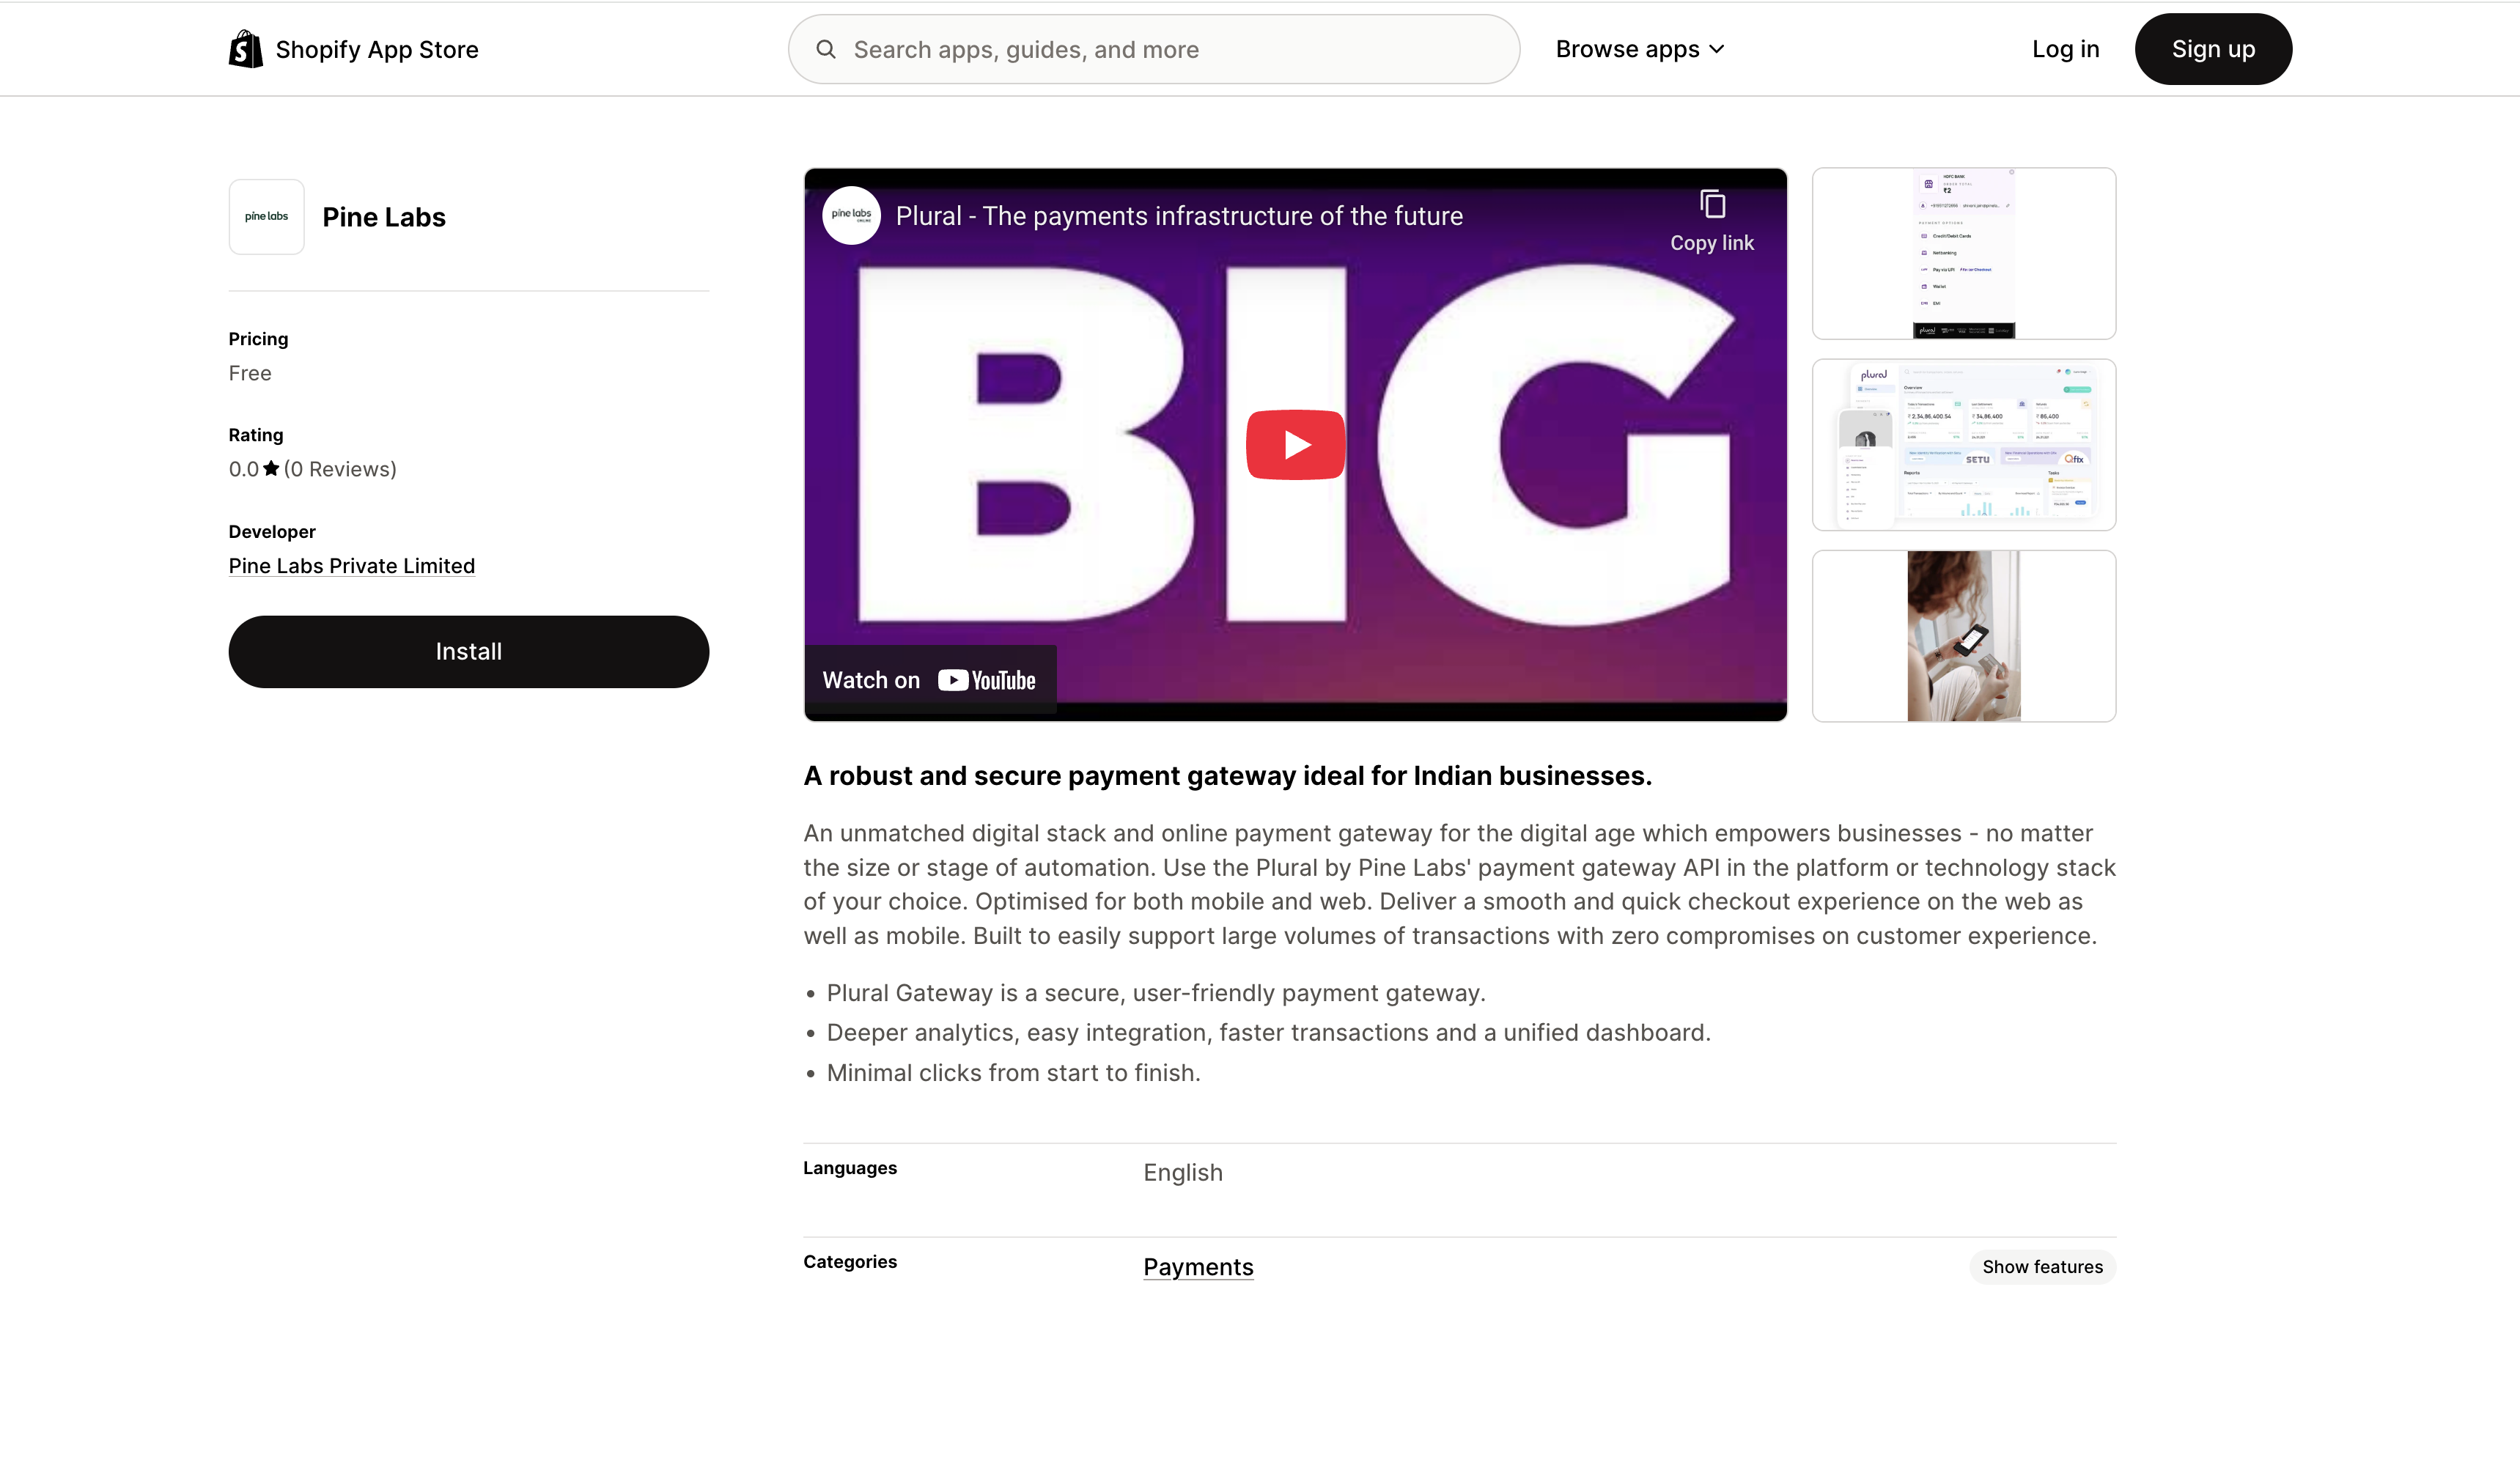
Learn how to install the Pine Labs plugin from the Shopify App Store—just a few clicks and you're ready to go.
- Login to your Admin Panel.
- Navigate to the Shopify App Store and search for Pay securely with Pine Labs.
- Next, click on Install to add the app to your store.
2. Configuration
Learn how to quickly set up your account preferences and credentials to match your business needs.
- After installing the app, you will be taken to the Pine Labs app configuration page.
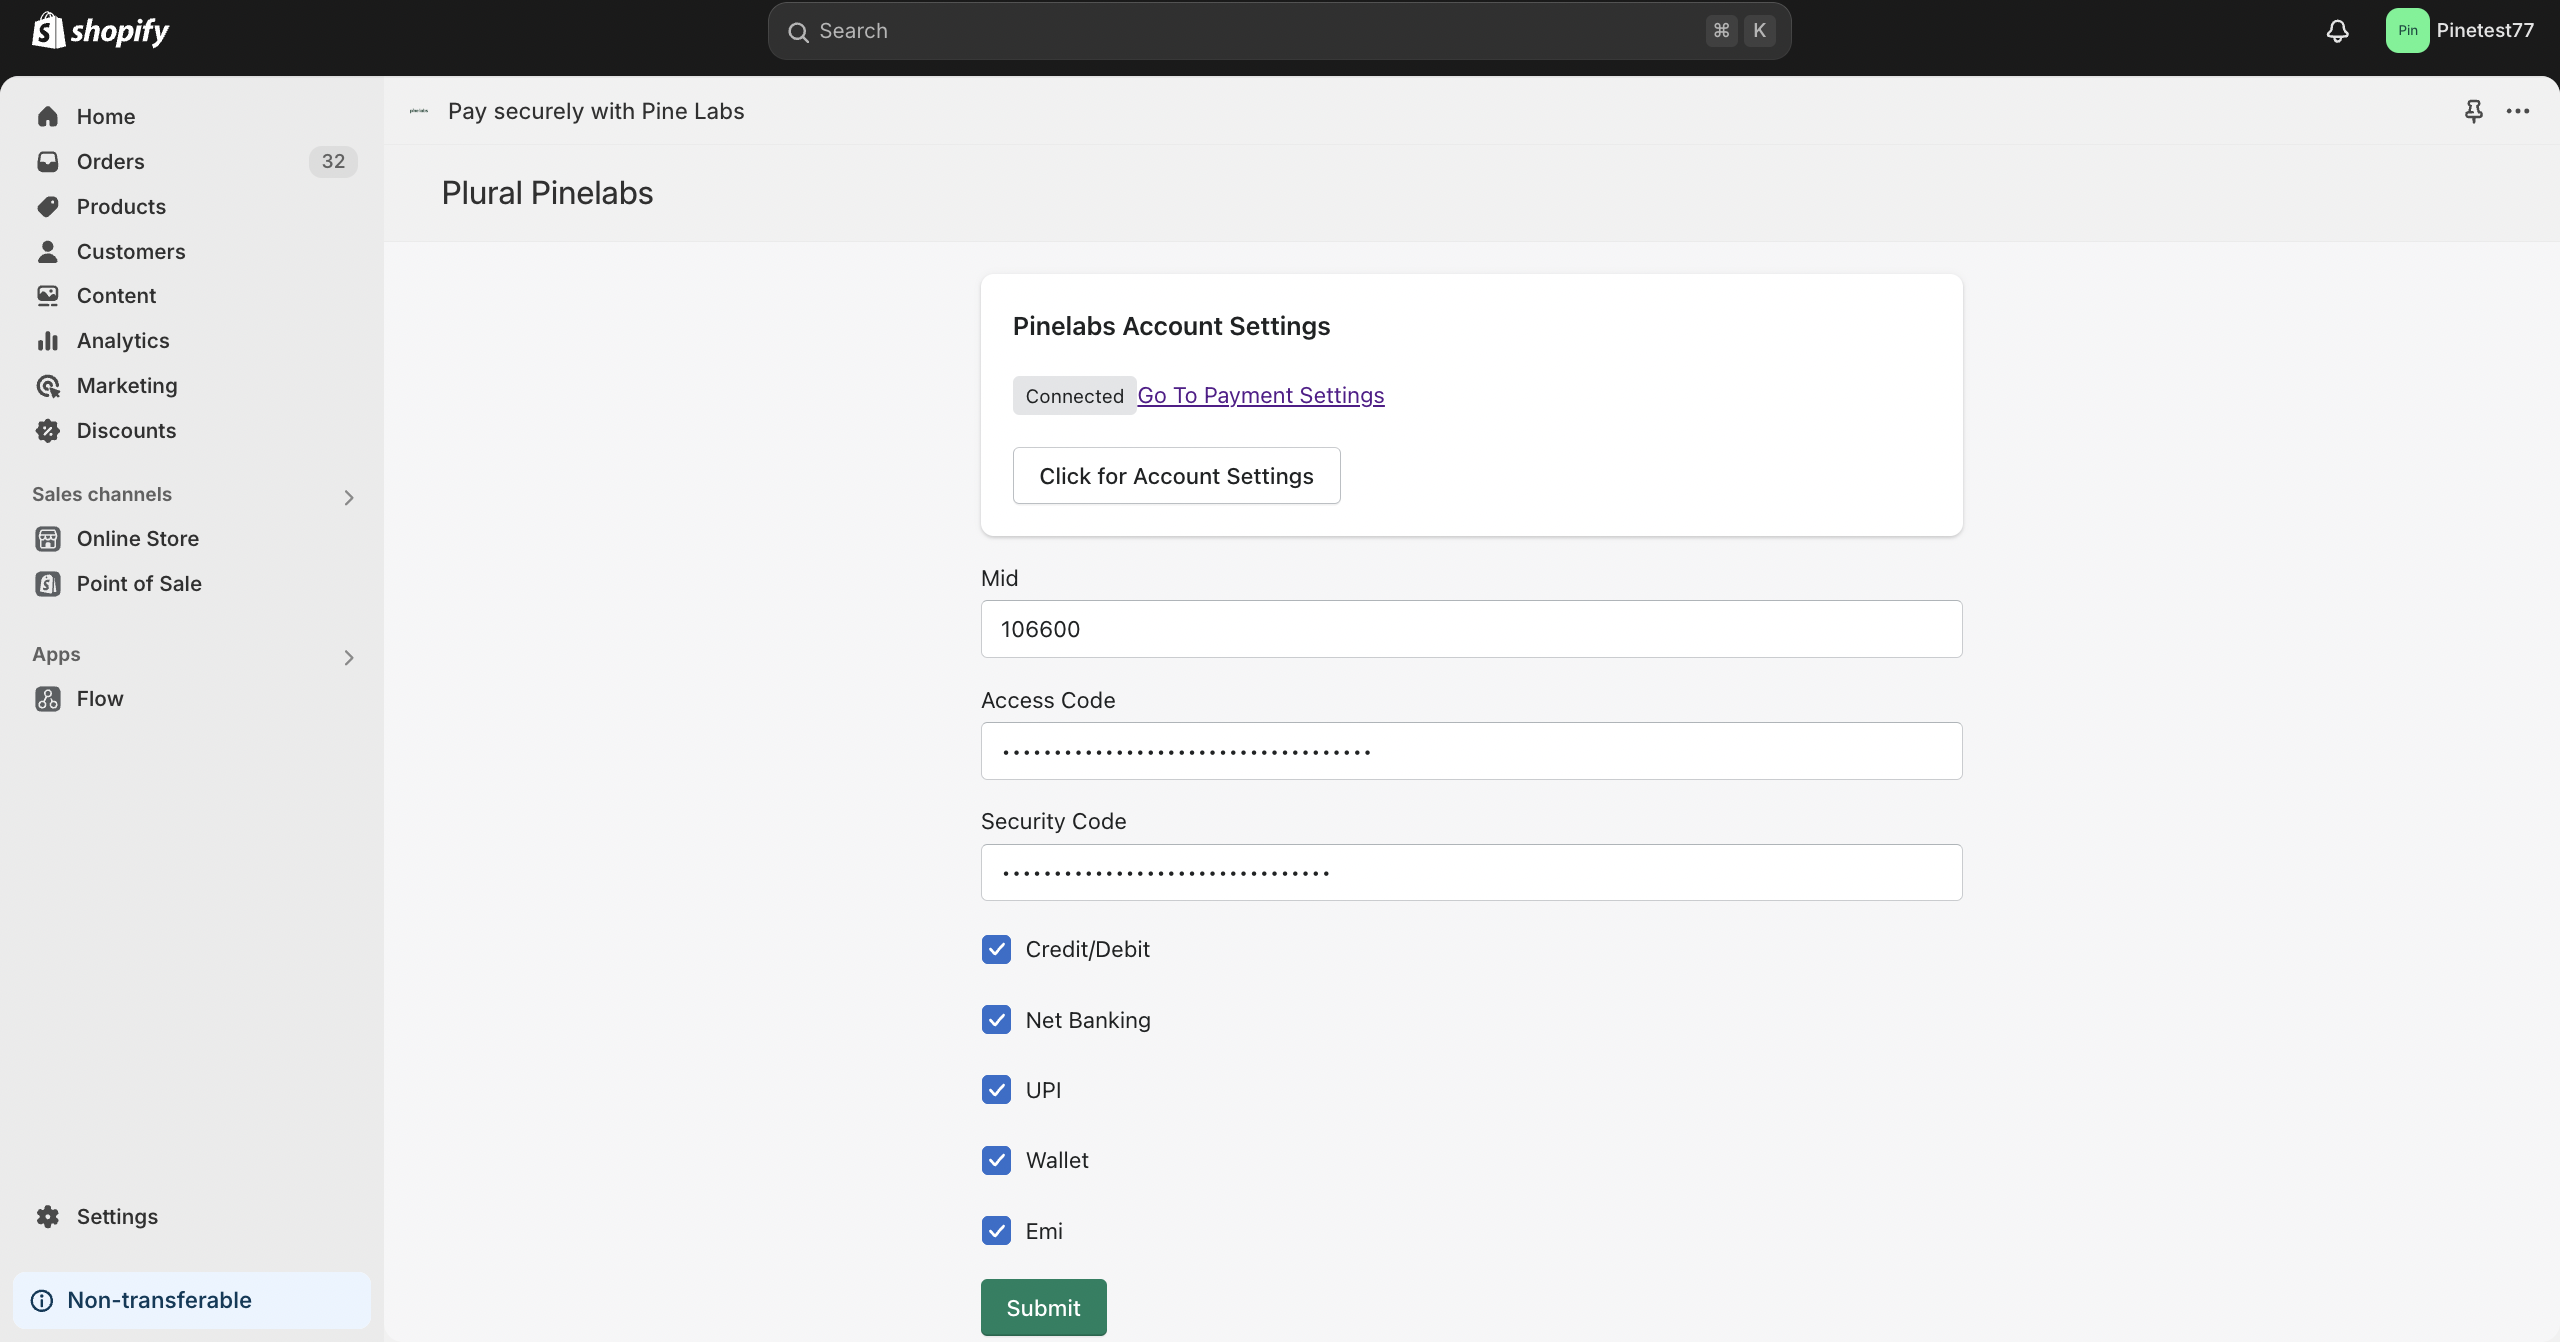
- Set up the following details:
- Merchant ID (MID)
- Access Code
- Security Code
Note
- The above details are shared during the onboarding process. If you haven’t received them, please contact the support team to obtain your
Merchant ID (MID),Access Code, andSecurity Code.
- Select the payment method you want to offer, such as Credit/Debit Cards, Net Banking, UPI, Wallet, and EMI. These options will be available to customers during checkout.
- Then click on Submit to save your settings.
3. Payment Settings and Activation
Learn how to enable live mode and activate a payment button on your platform.
- After configuring the credentials, navigate to Payments from the Settings tab in your Shopify store.
- Then, select Pay securely with Pine Labs as a payment method.
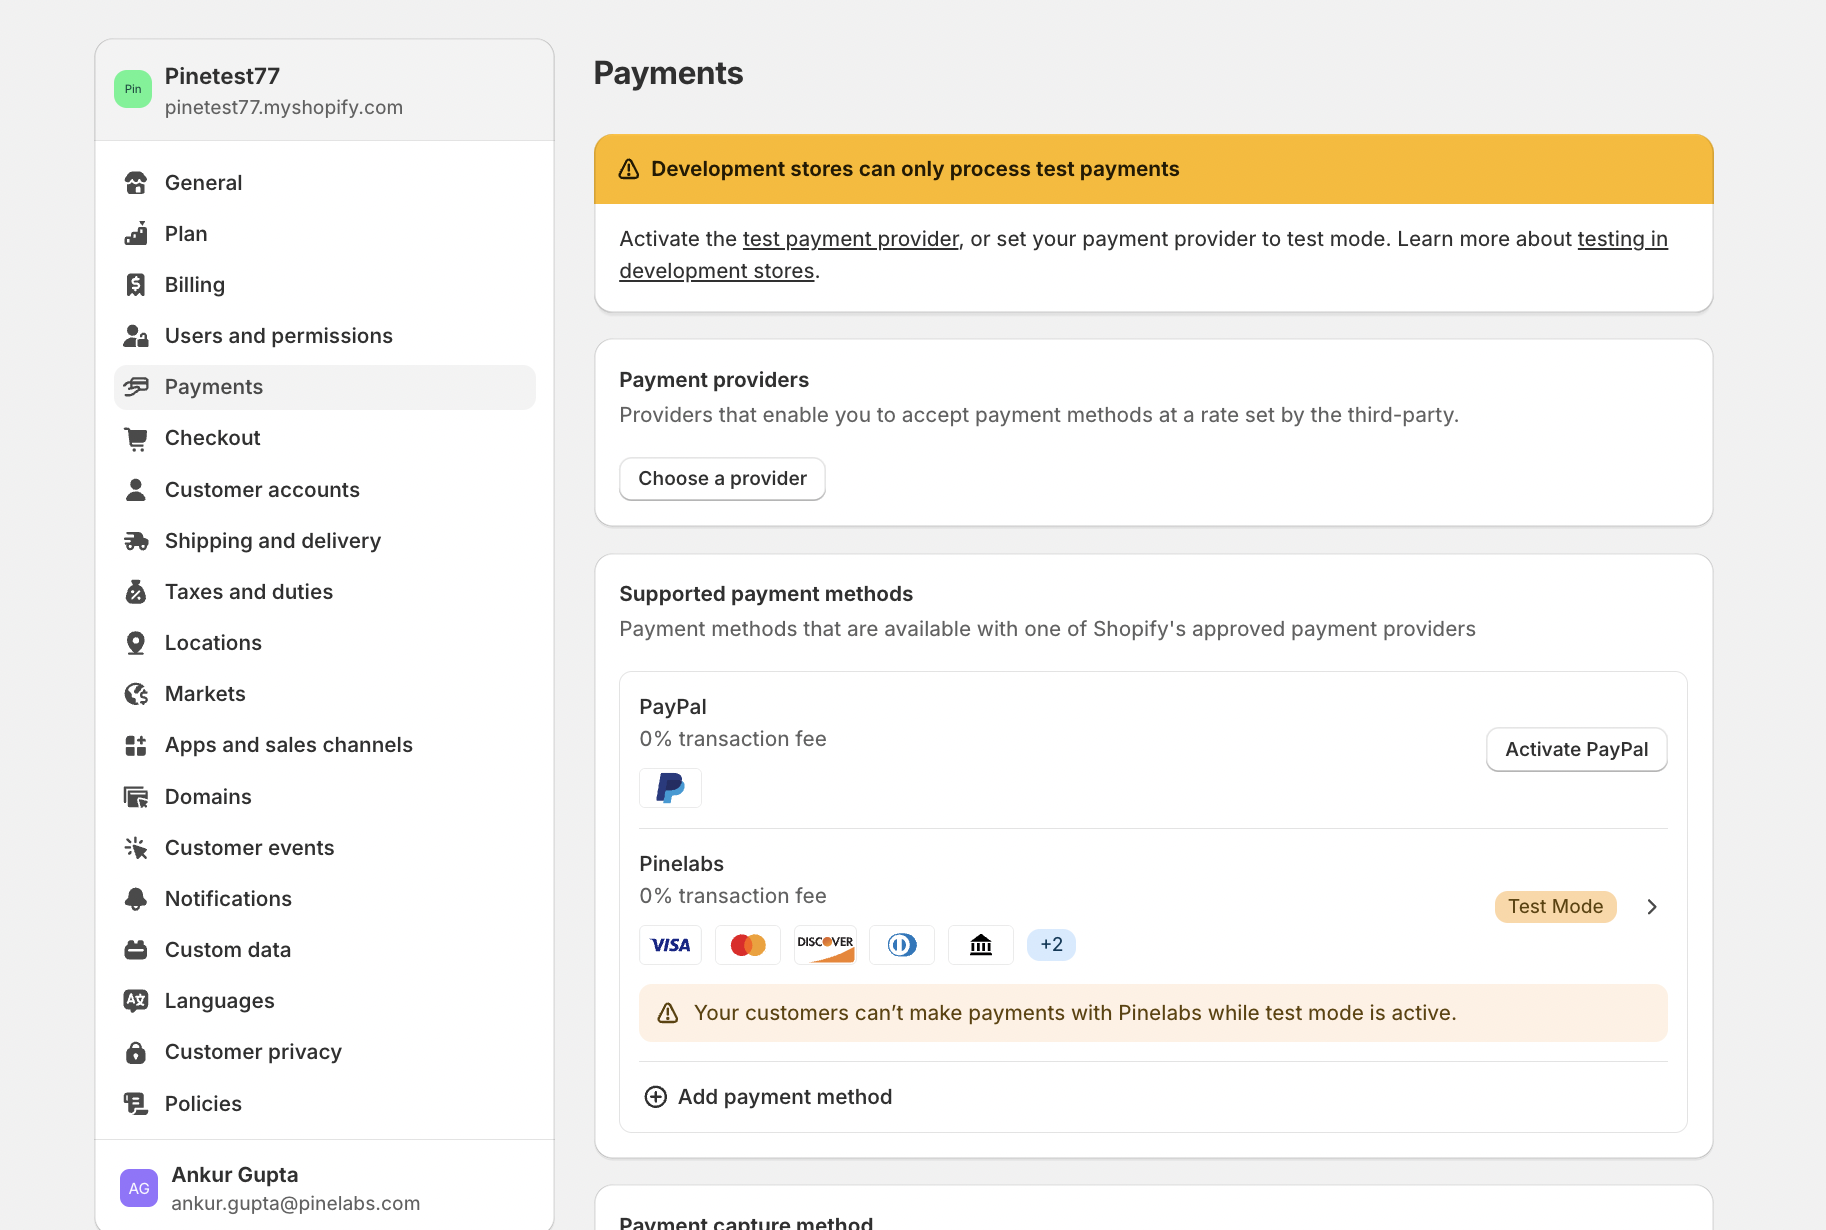
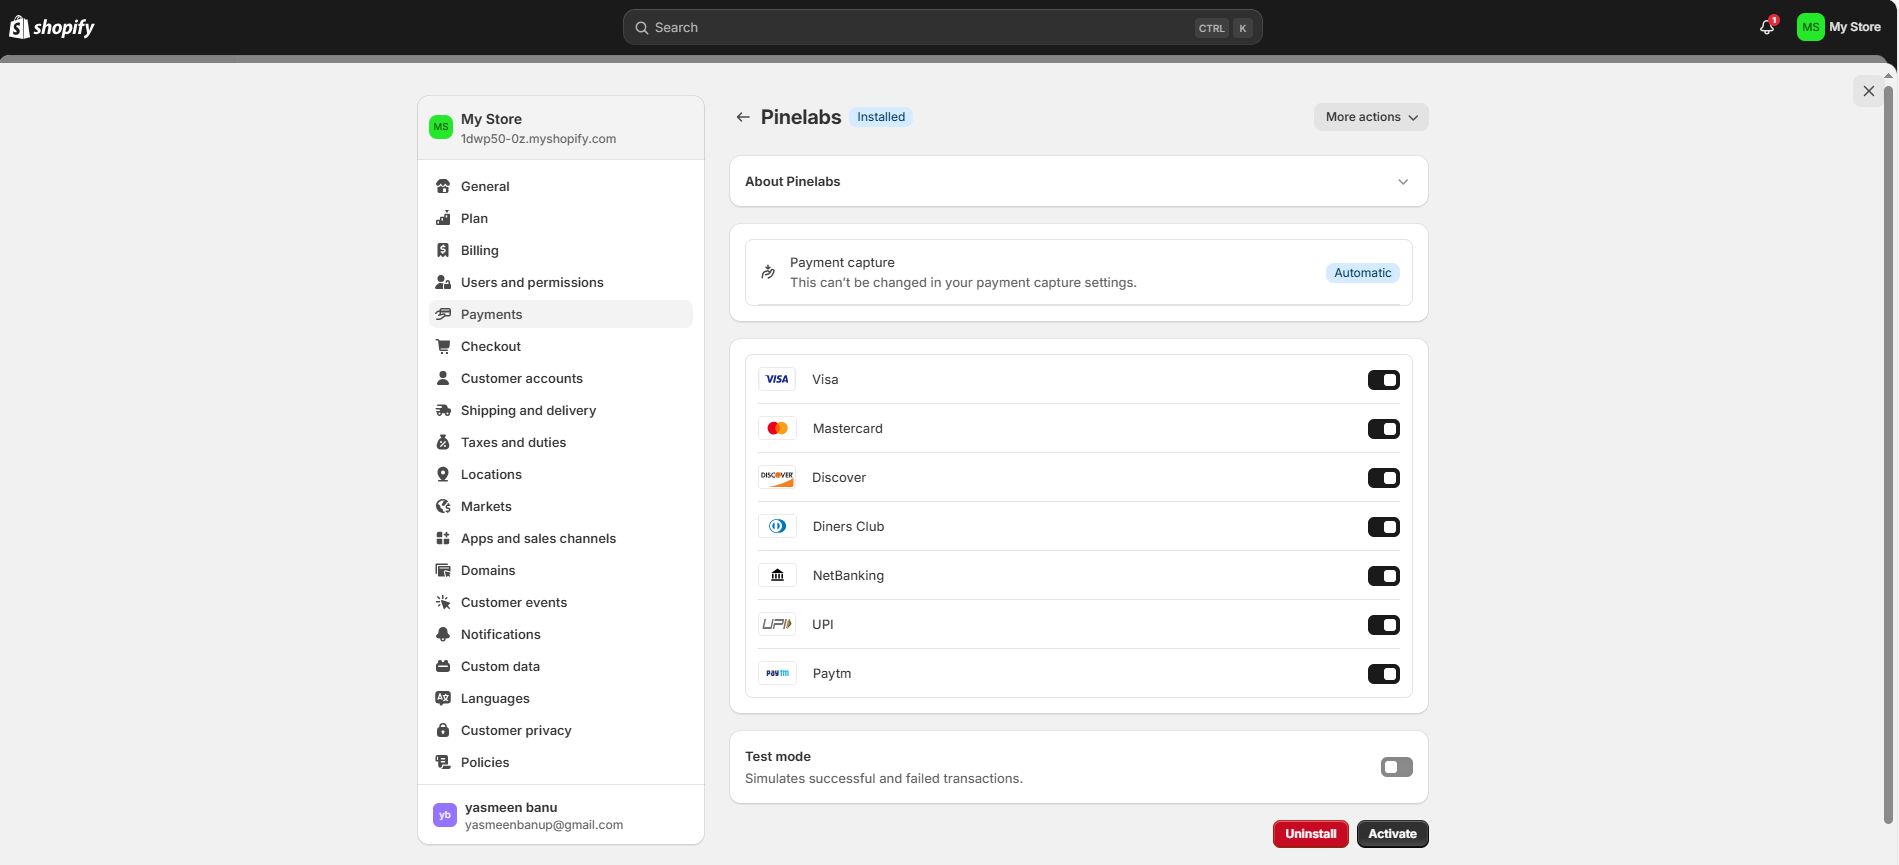
- You will be redirected to the activation page, click on Activate located at the bottom right corner.
- Ensure the Test Mode is disabled for live transactions.
Note
- Enable Test Mode only when testing with the UAT API credentials.
4. Activate Infinity Checkout
Learn how to create a 'Pay Now' button on your cart and how to handle the payment success callback.
Follow the below steps to add “Pay Now” Button and Create a Payment Success Page in Shopify.
4.1. Add the Pay Now Button to the Cart Page
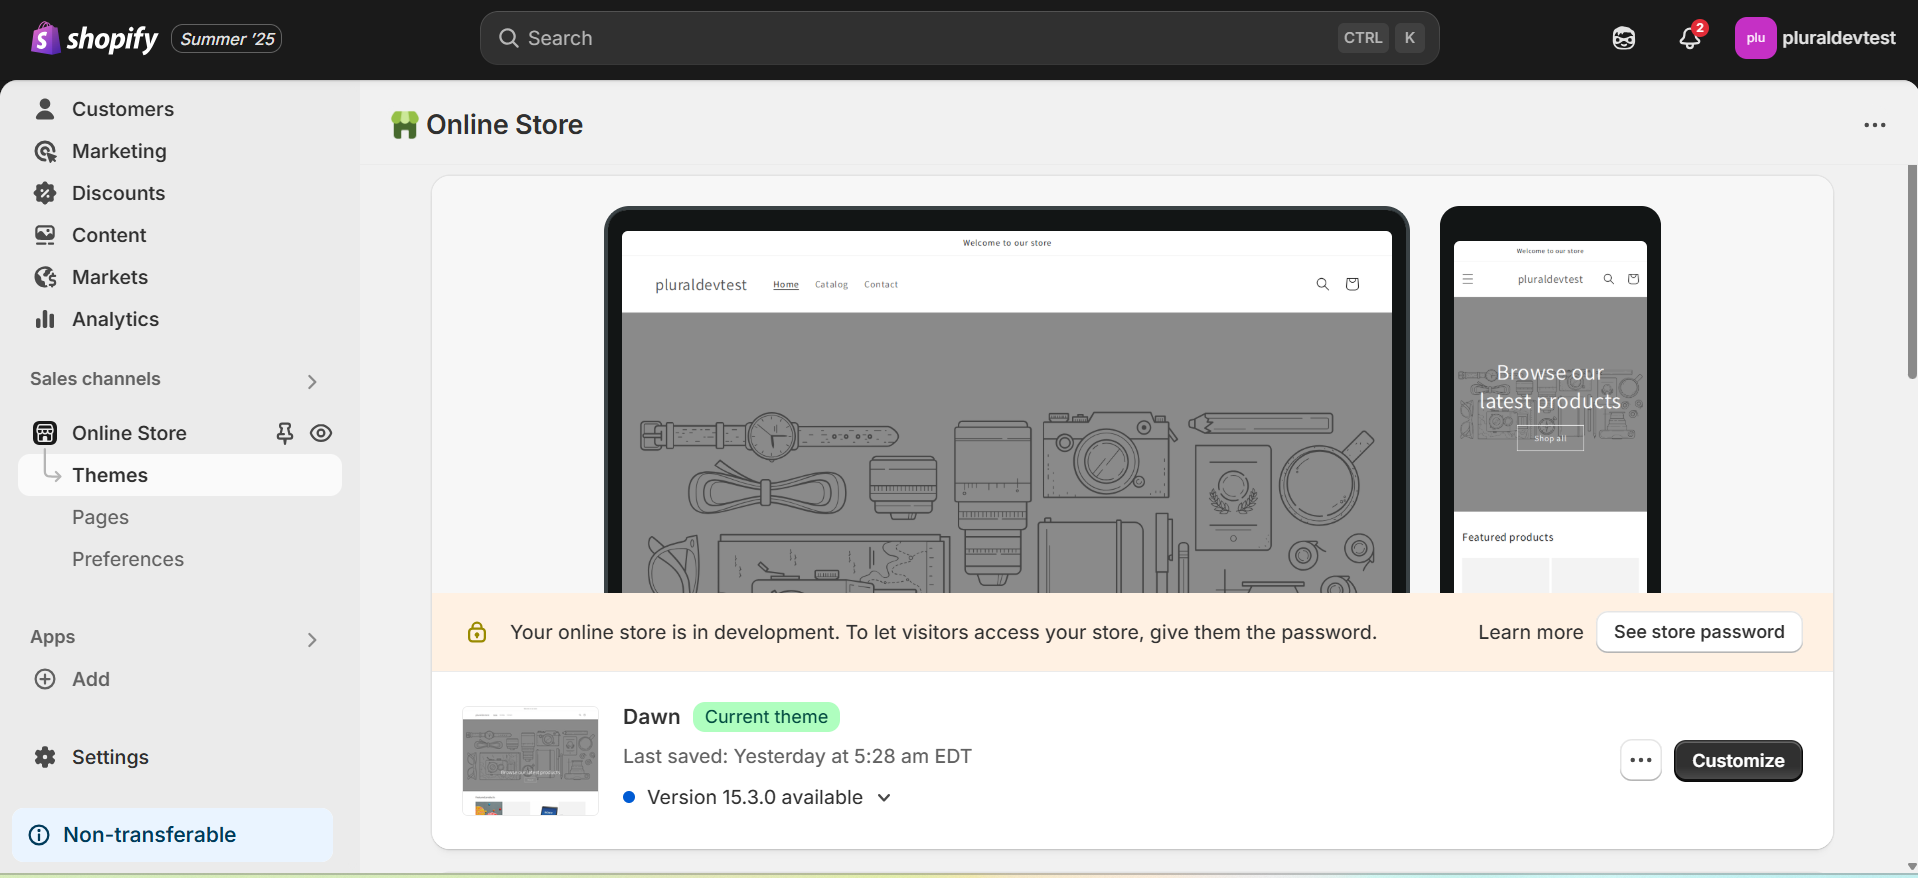
- In your Shopify Admin, go to Online Store → Themes → Customize.
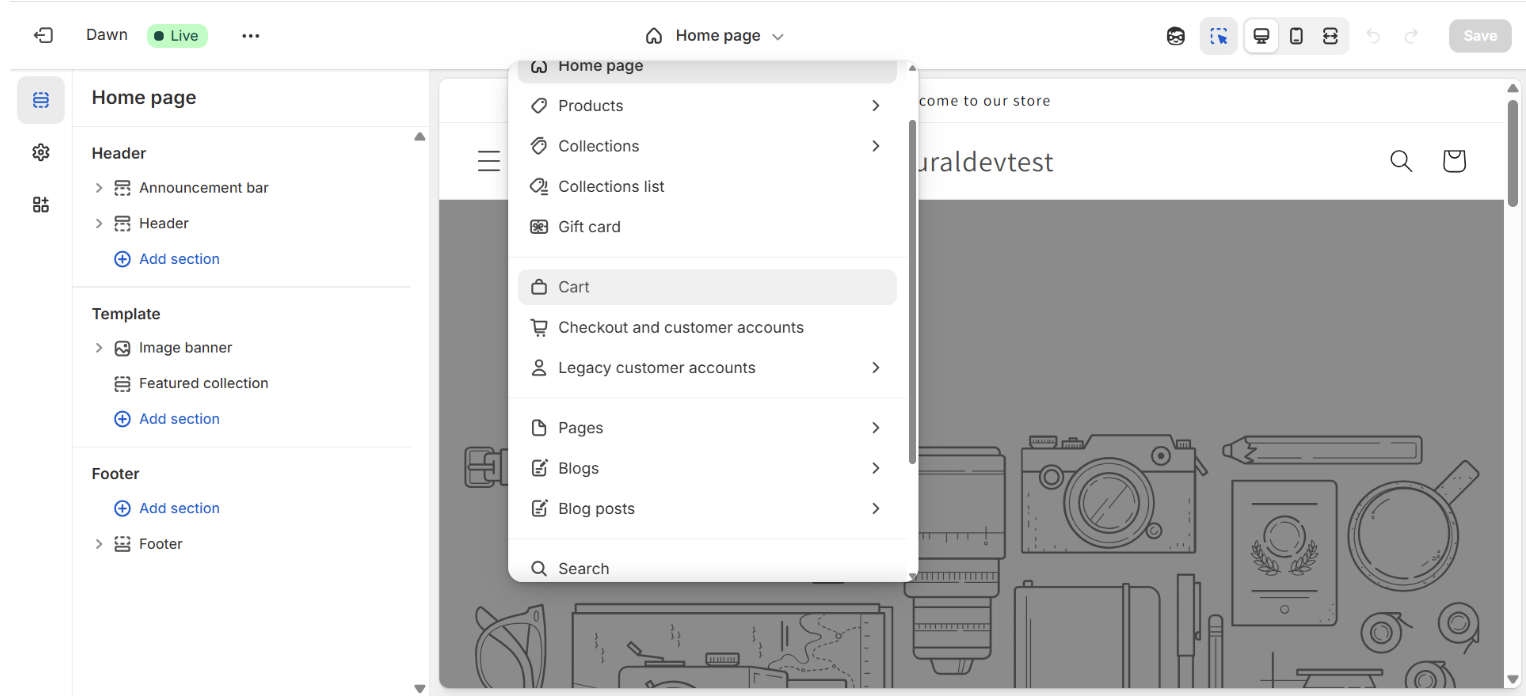
- From the theme editor’s dropdown menu (top center), select Cart.
- In the left panel, under the Cart section, click Add Block.
- Choose Apps, then select Pay Now Button.
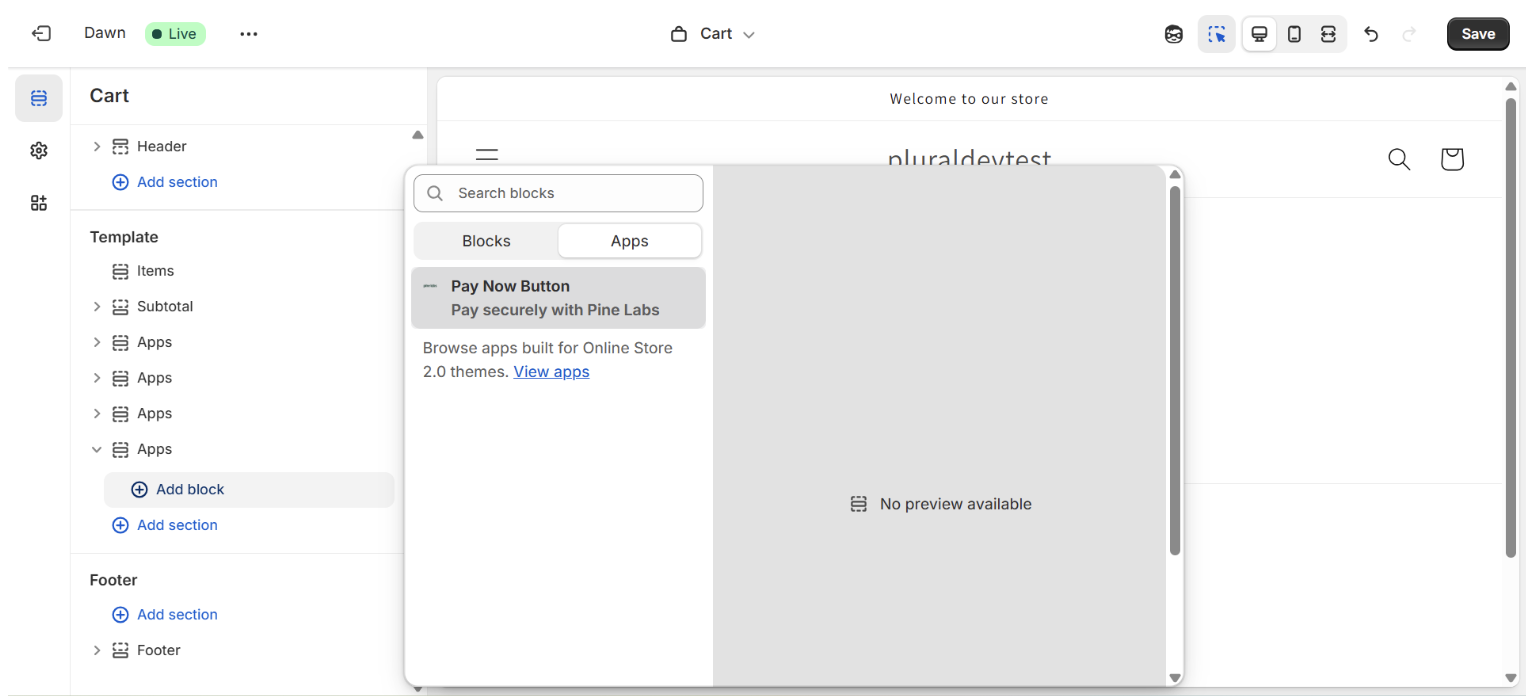
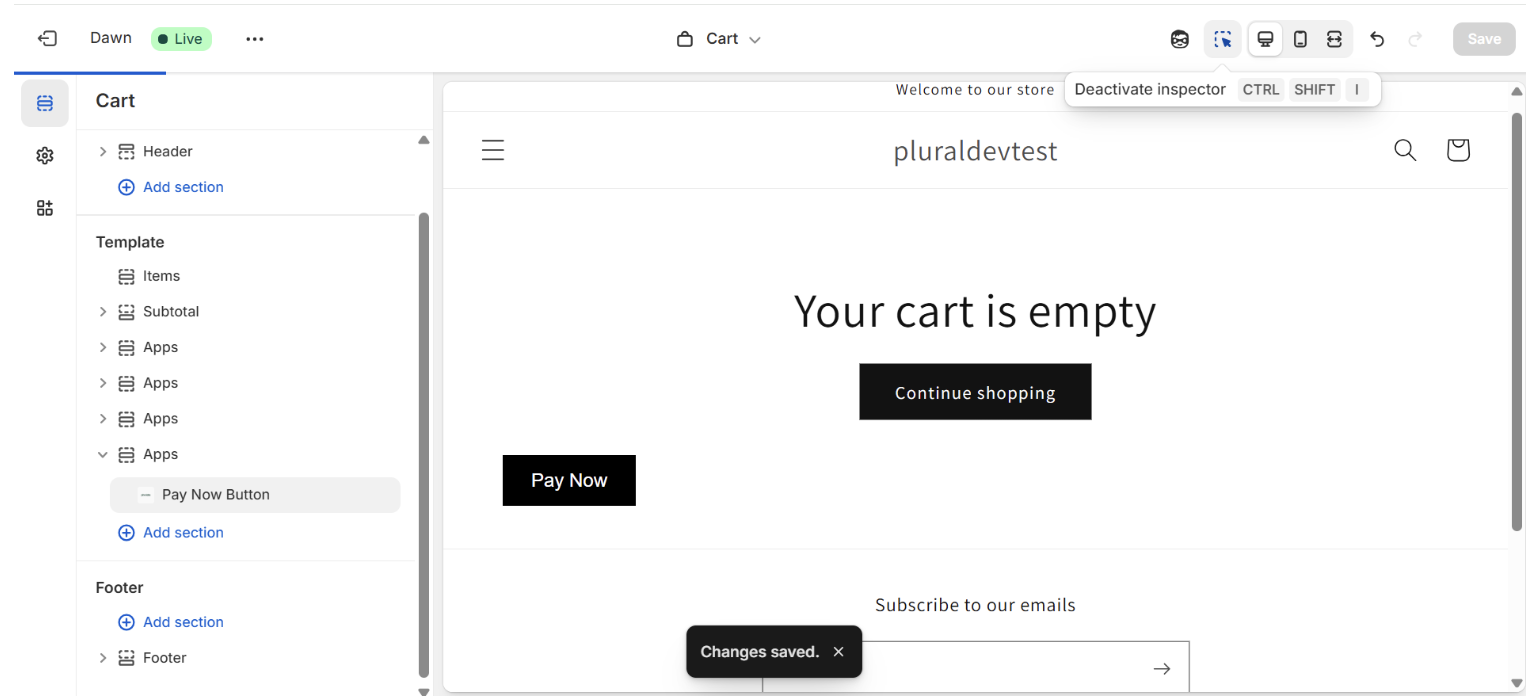
- Once the button appears on the cart page, click Save.
4.2. Create a Payment Success Page
- In Shopify Admin, navigate to: Online Store → Pages → Add Page
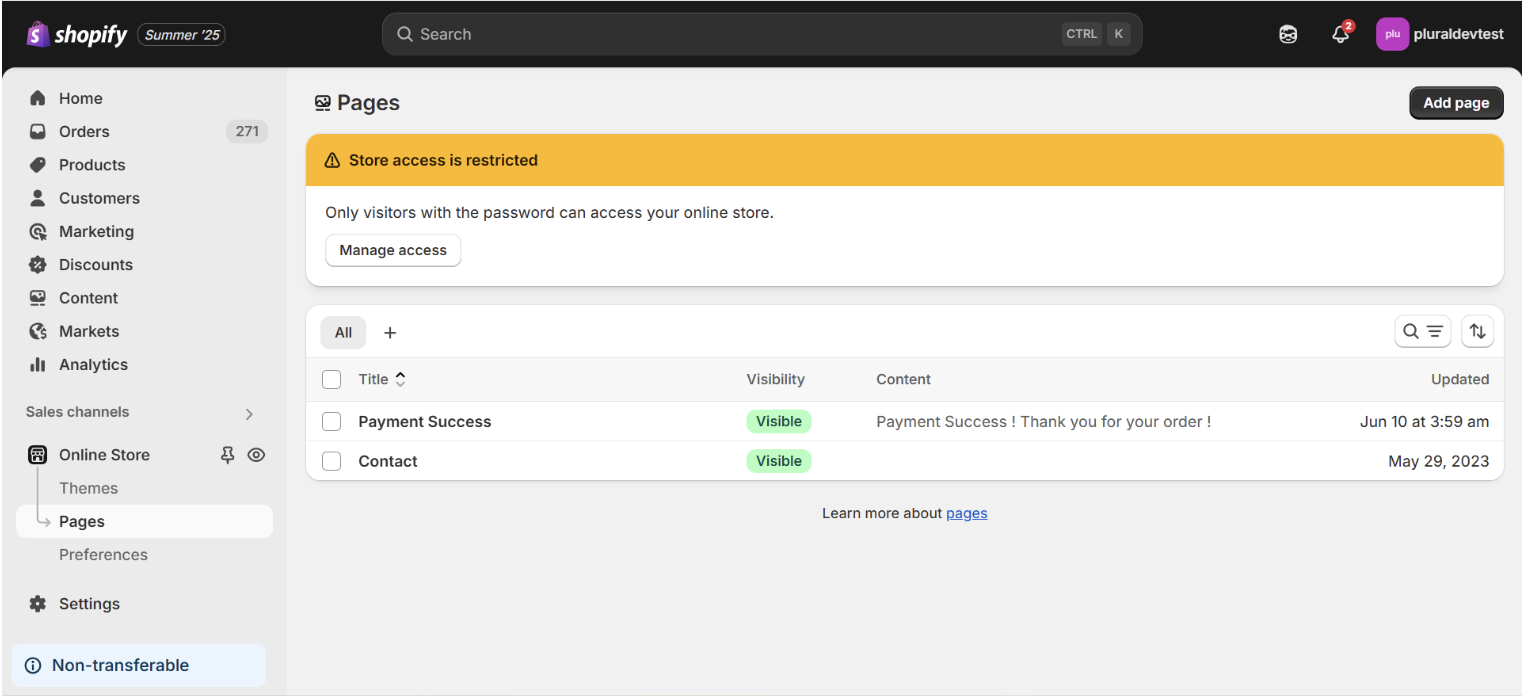
- Fill in the page details as below:
Payment Success
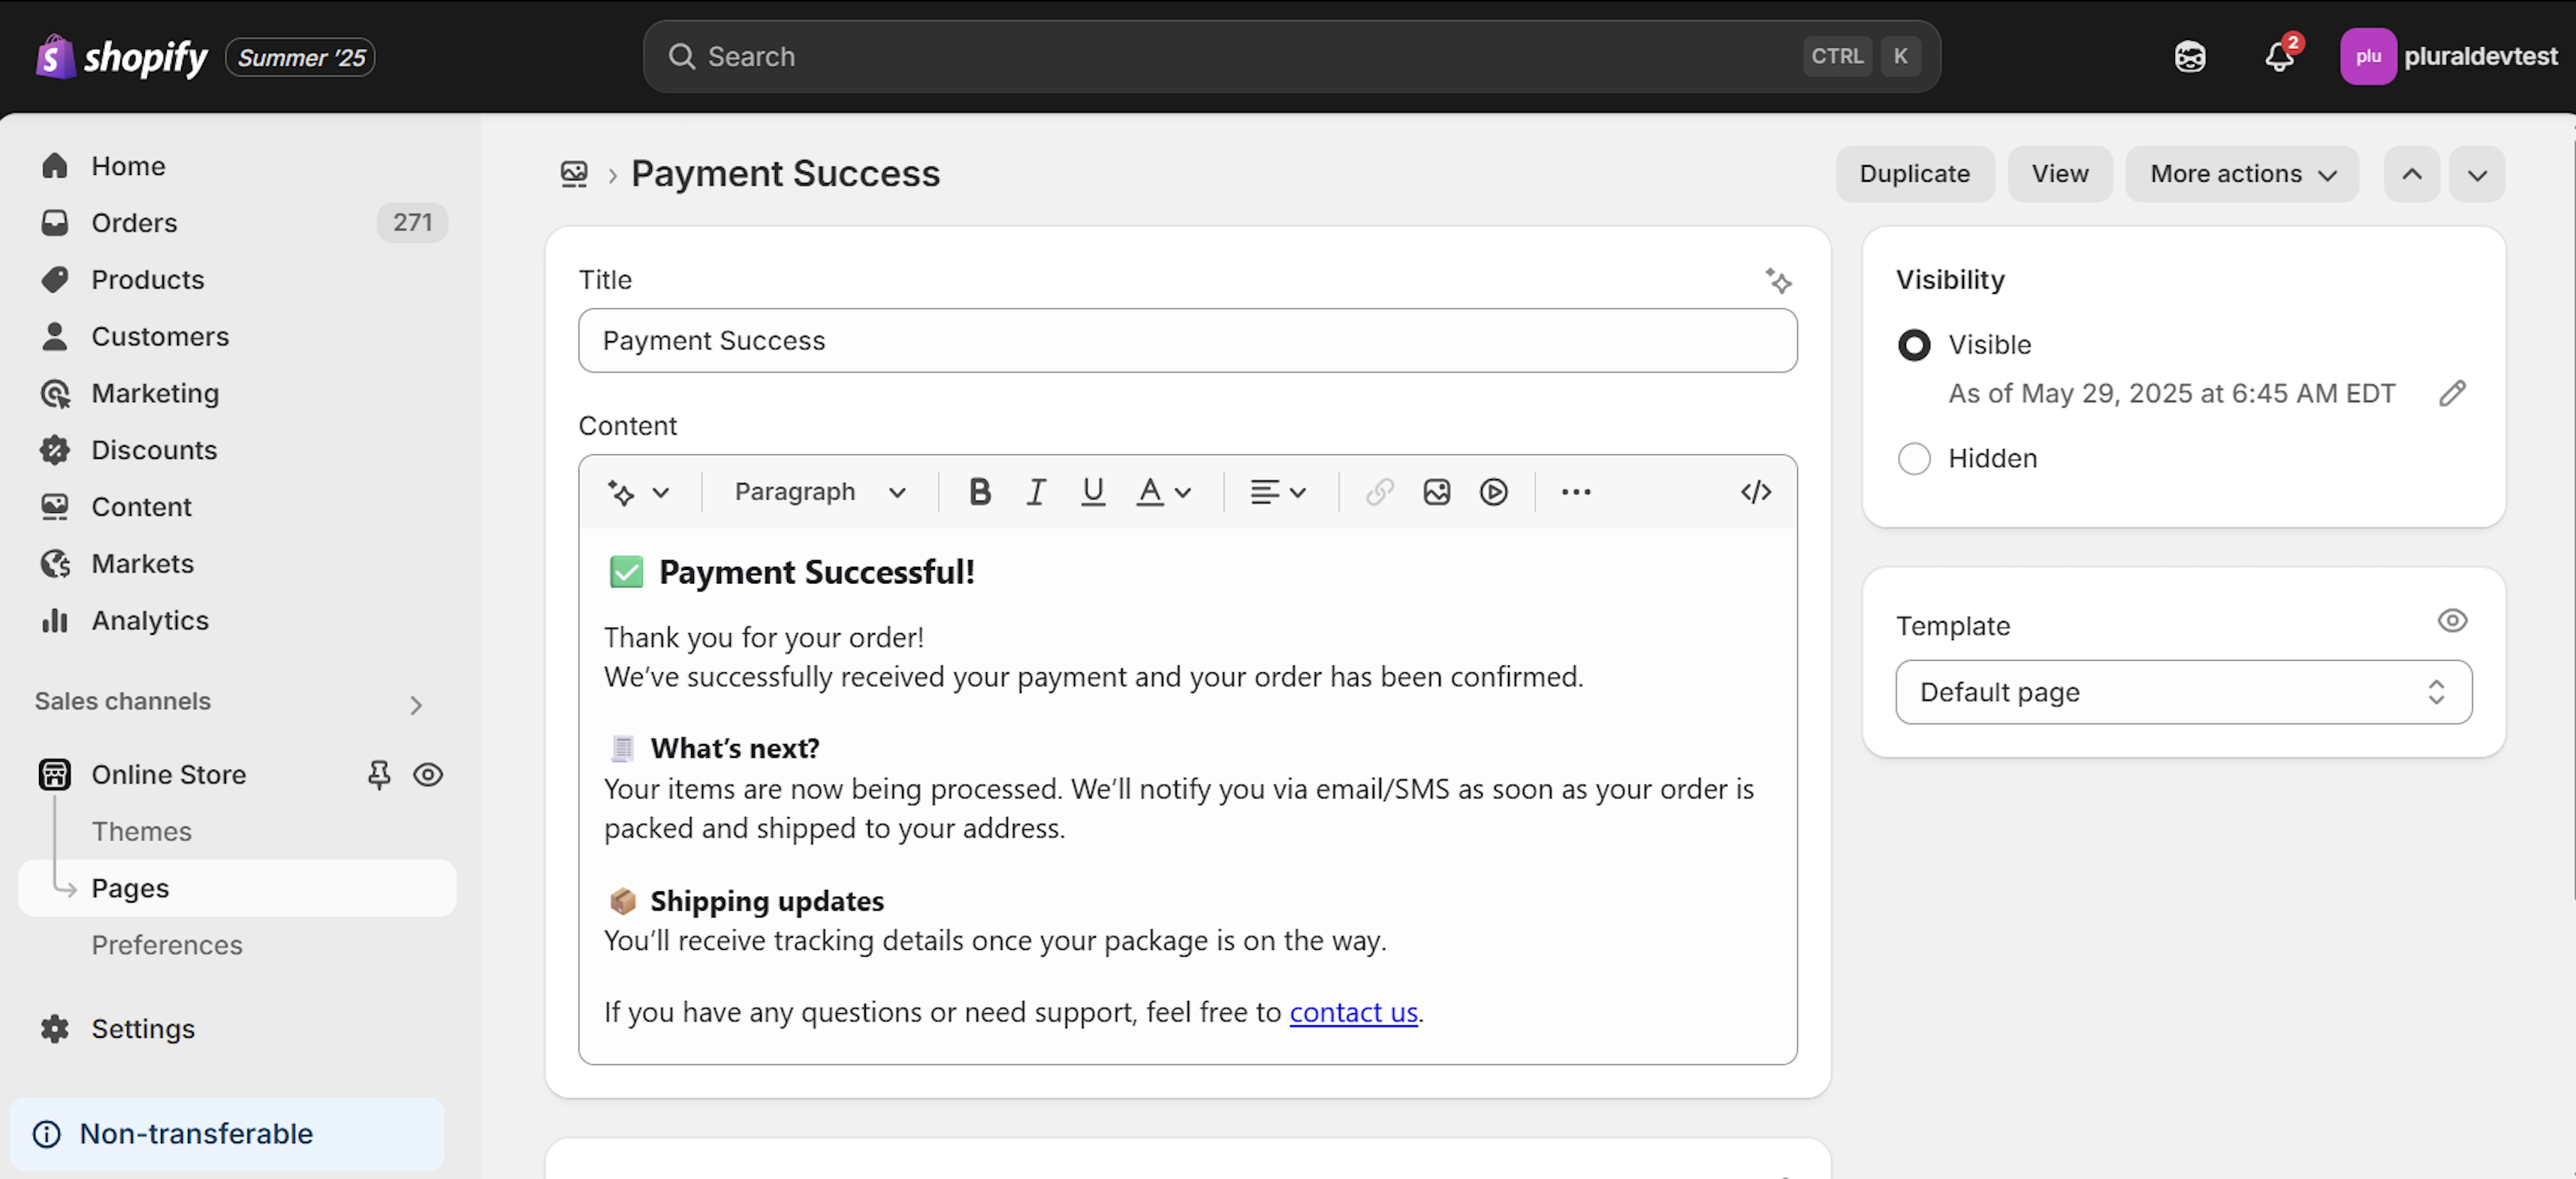
- Click Save to publish the page.
Note
- This page is displayed to your customers after a successful payment to confirm their order and inform them about the next steps.
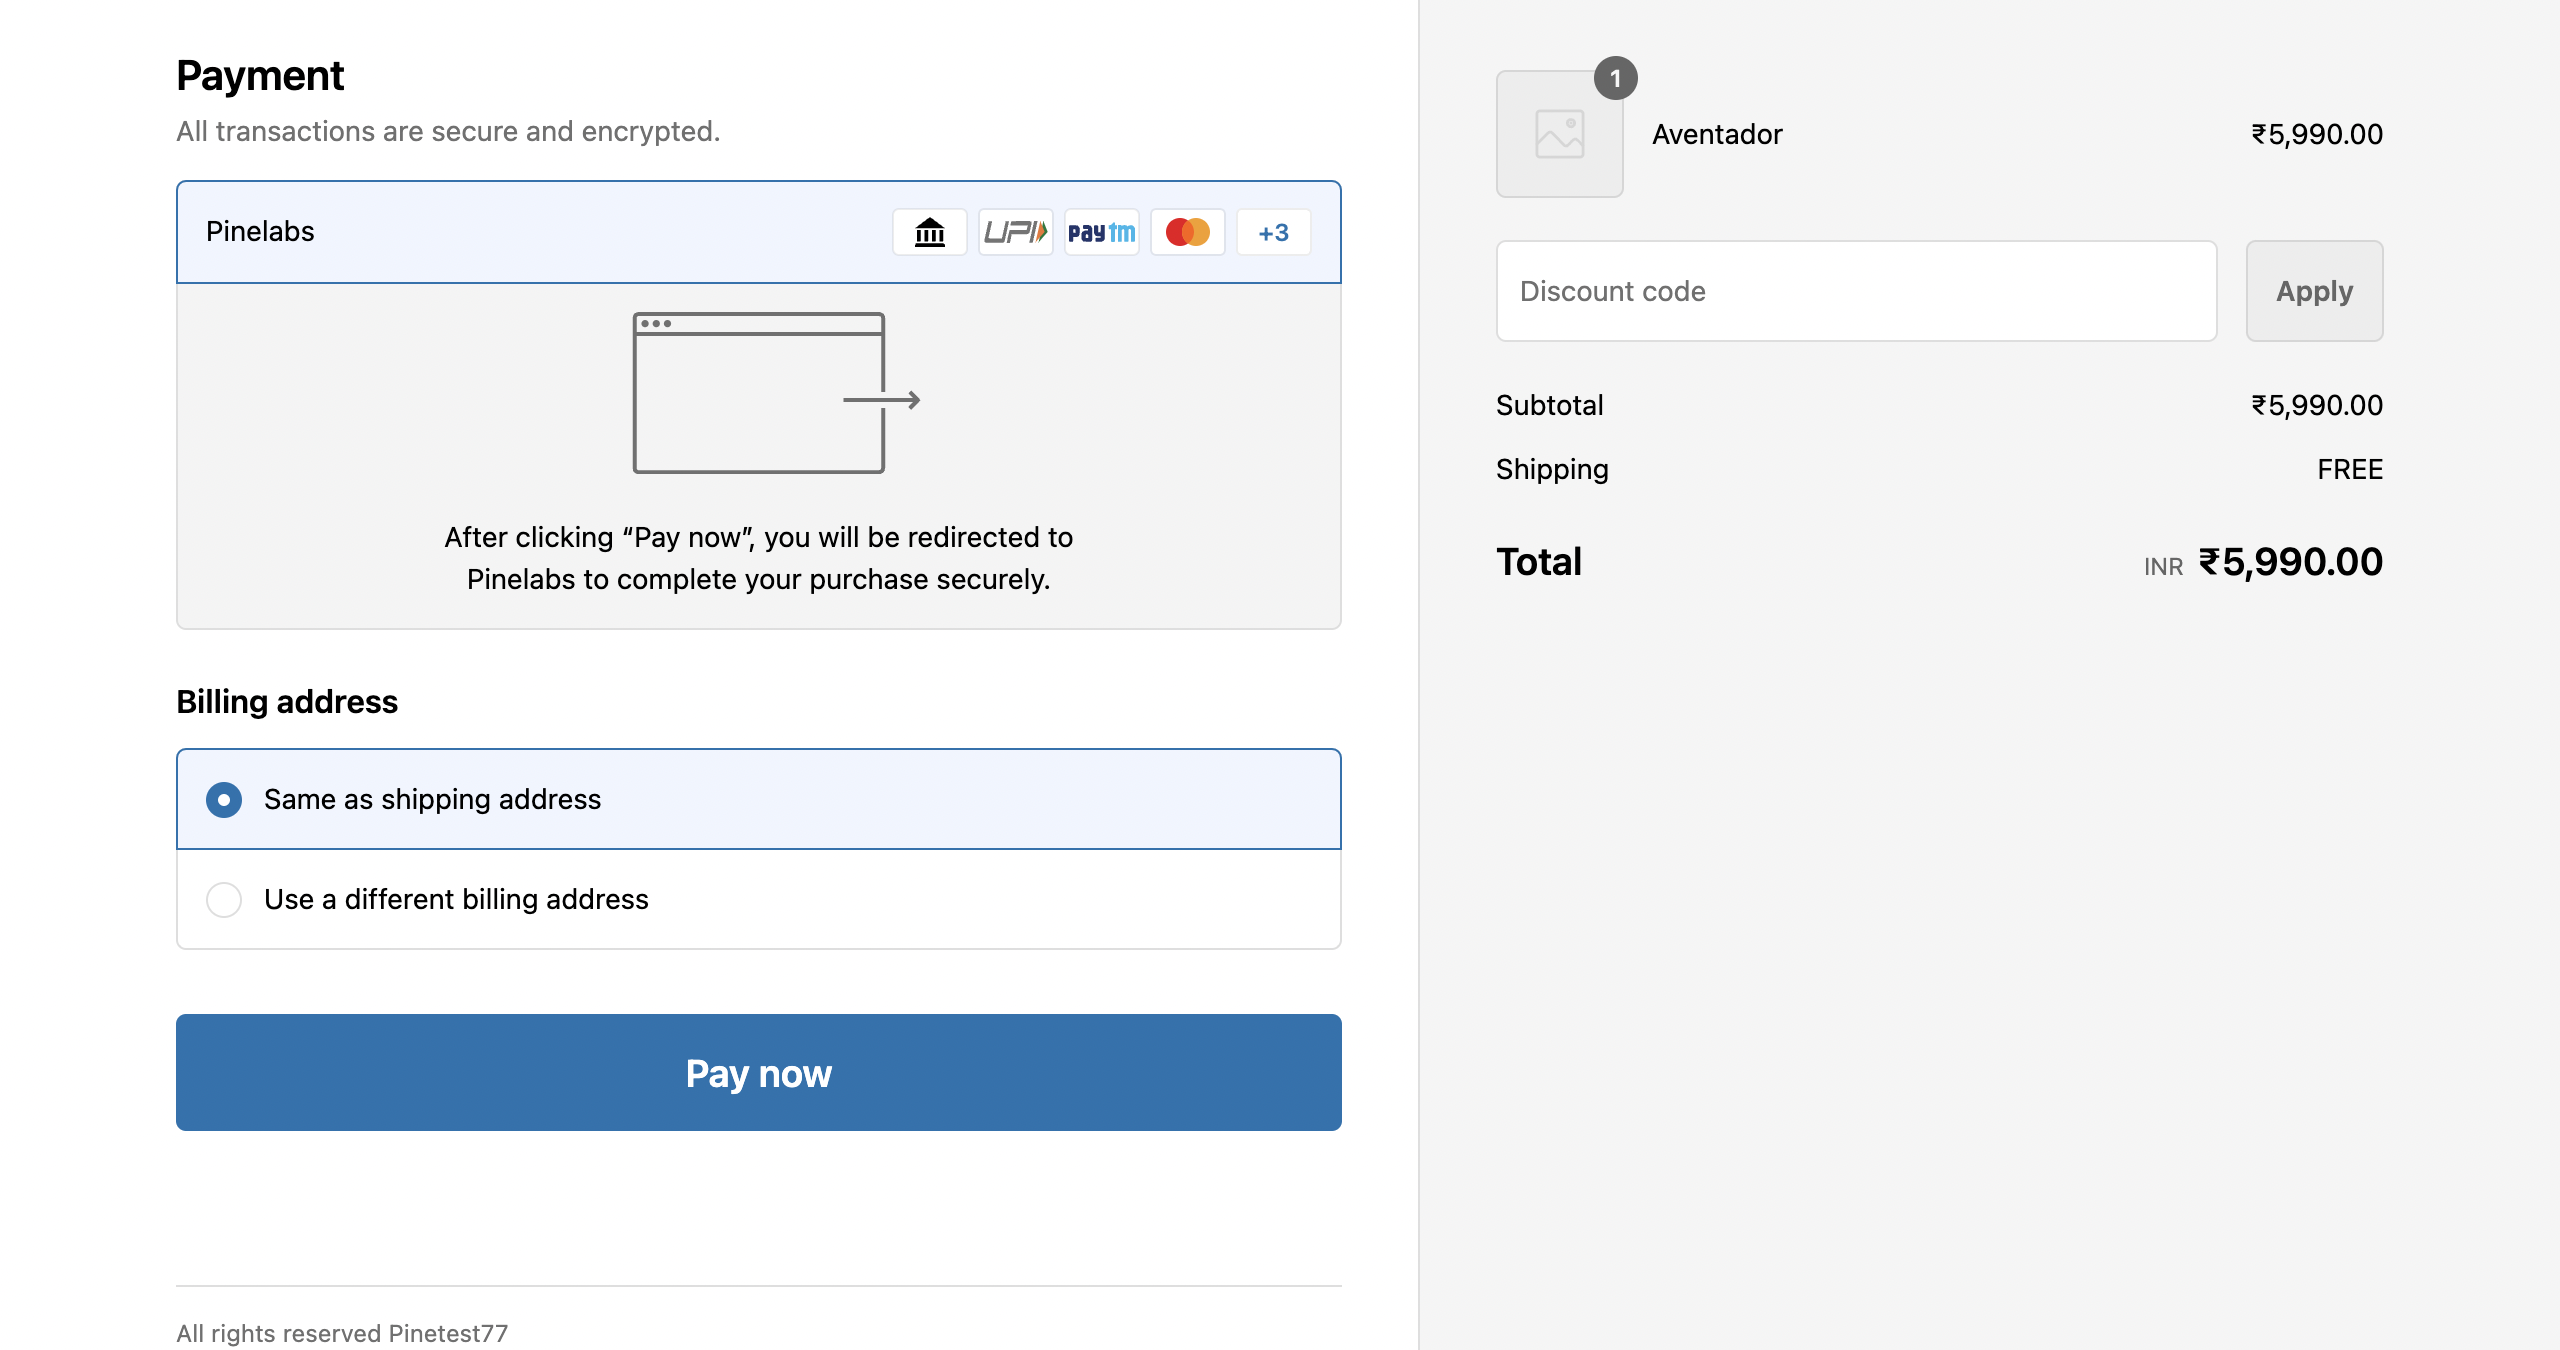
Payment Checkout
- After activation, Pay securely with Pine Labs will appear on the checkout page.
- To initiate a transaction using Pay securely with Pine Labs, navigate to your Shopify stores, then add an item to the cart and proceed to checkout.
- During checkout, select Pay securely with Pine Labs option and complete the payment.
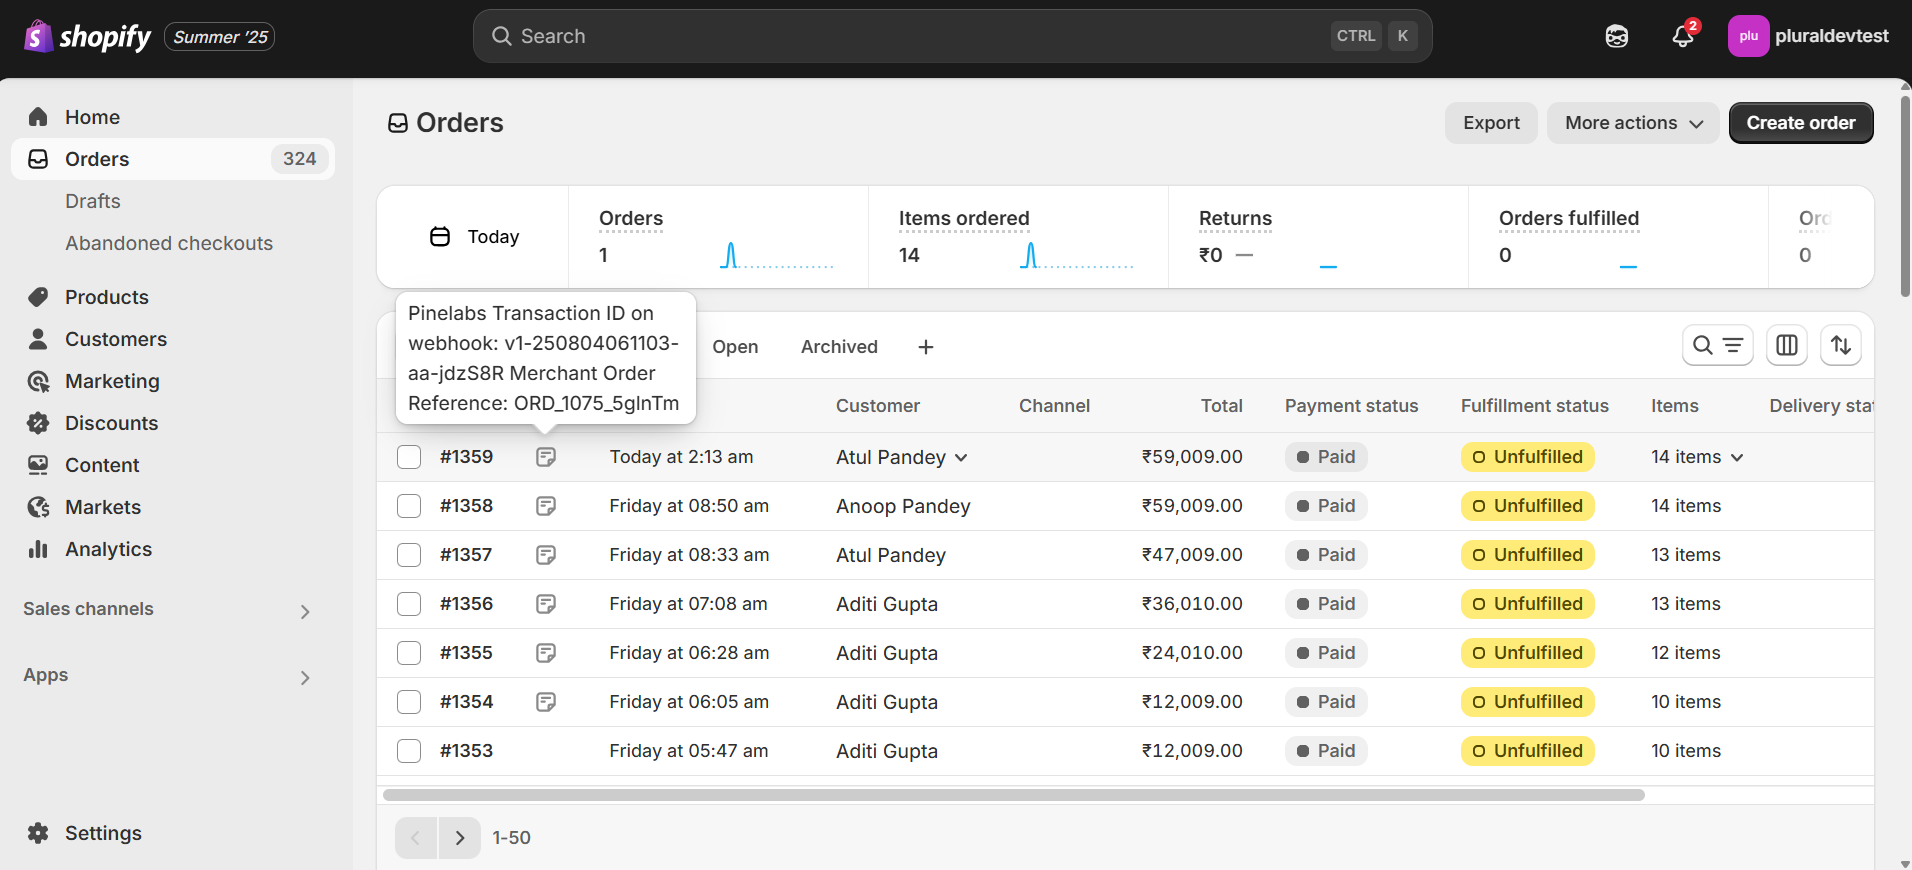
Manage Transactions
- Once the payment is successfully processed, verify the transaction status on your Pine Labs Dashboard, to check the status of the transaction along with the Pine Labs Capture Order ID.
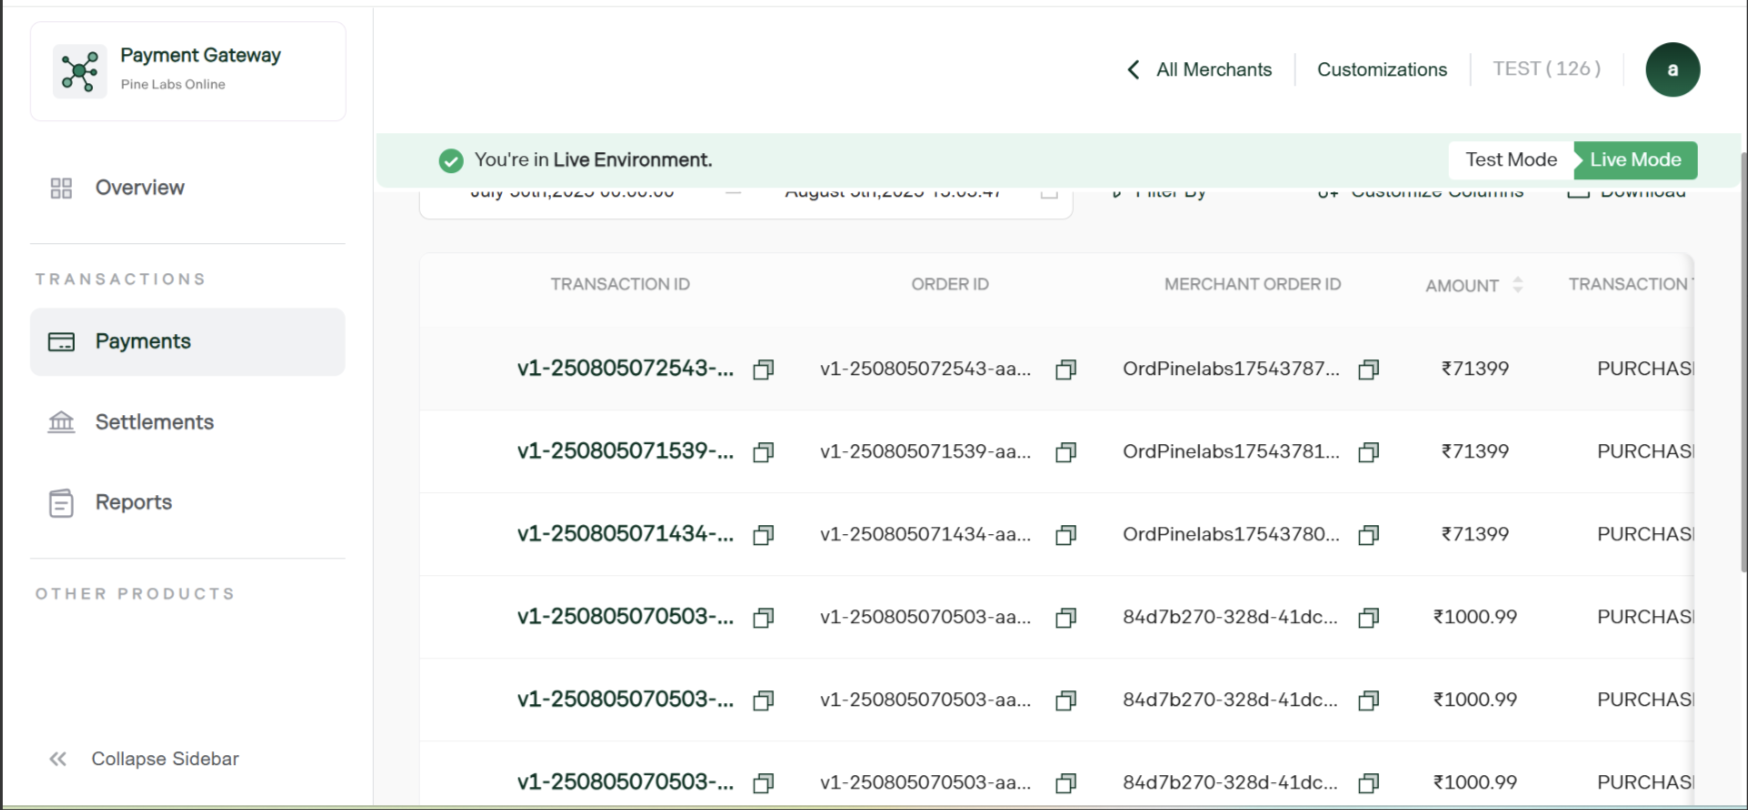
- You can also go to Orders in your Shopify admin portal to view the transaction. The transaction details will automatically recorded, allowing you to track and manage all transactions for reporting and reconciliation purposes.
Updated about 1 month ago