
Setup Guide - Hosted MCP Server
Learn how to set up the Pine Labs hosted MCP Server—no infrastructure required.
A ready-to-use MCP Server hosted by Pine Labs, requiring zero infrastructure, with built-in updates and reliable uptime
📋 Prerequisites
Before you begin setting up the Pine Labs Hosted MCP Server, make sure you have the following:
- An active Pine Labs Merchant Account with API access enabled.
- API credentials (
Client IDandClient Secret) are available from your merchant dashboard. - A supported AI Assistant such as
Claude Desktop,VS Code,Cursor, or any compatible tool. - Node.js version 22 or higher, along with
npmandnpxinstalled. - A compatible Operating System:
macOS,Windows, orLinux.
Installation Steps
Begin the setup process using the steps outlined below.
Step 1: Install Node.js
The Pine Labs Hosted MCP Server requires Node.js with npm and npx. Choose the appropriate installation method based on your operating system.
For Mac
Ideal for: Business users seeking AI-driven payment automation without coding.
- Go to Node.js Org.
- Download the LTS (Long-Term Support) version.
- Open the downloaded .pkg installer file.
- Follow the on-screen instructions to complete the installation.
For Windows
- Visit Node.js Org.
- Download the LTS (Long-Term Support) version for Windows.
- Run the downloaded
.msiinstaller. - Follow the installation wizard.
- Ensure to check the option "Add to PATH" during setup.
For Linux
Ideal for: Business users seeking AI-driven payment automation without coding.
- sudo apt update
- sudo apt install nodejs npm
Step 2: Verify Installation
After installing Node.js, verify that it is installed correctly by checking the versions of node and npm using your terminal or command prompt.
node --version- Sample Output:
v22.3.0
- Sample Output:
npm --version- Sample Output:
10.8.1
- Sample Output:
npx --version- Sample Output:
10.8.1
- Sample Output:
Step 3: Configure Your AI Tool
Learn how to connect and set up your preferred AI development environment to integrate with Pine Labs Hosted MCP Server for streamlined, API-based automation.
Choose Your AI Tool
The Pine Labs MCP Server is compatible with various AI-powered development environments. Choose the tool that best aligns with your workflow and technical requirements.
Ideal for: Business users seeking AI-driven payment automation without coding.
- Simple and intuitive chat-based interface.
- No technical experience required.
- Supports automated payment workflows.
- Follow the Claude Desktop Configuration to get started.
Claude Desktop Configuration
This setup enables AI-powered automation of payment workflows through Claude.
Step 1: Install Claude Desktop
Download and install Claude Desktop for your operating system:
- Go to the Claude Desktop website and download the Claude application.
- Choose your OS and follow the installation instructions.
- Launch Claude Desktop.
Step 2: Access Developer Settings
Open developer settings based on your operating system:
macOS:
- Navigate to Claude and select Settings.

- In the Settings menu, navigate to and select the Developer option.

Windows/Linux:
- Navigate to file and select settings.
- In the Settings menu, navigate to and select the Developer option.
Step 3: Configure MCP Server
Locate the configuration file by clicking Edit Config File, or access it manually:
| OS | File Location |
|---|---|
| macOS | ~/Library/Application Support/Claude/claude_desktop_config.json |
| Windows | %APPDATA%\\Claude\\claude_desktop_config.json |
| Linux | ~/.config/Claude/claude_desktop_config.json |
Step 4: Add Pine Labs Configuration
- Navigate to developer section and Click on Edit Config.
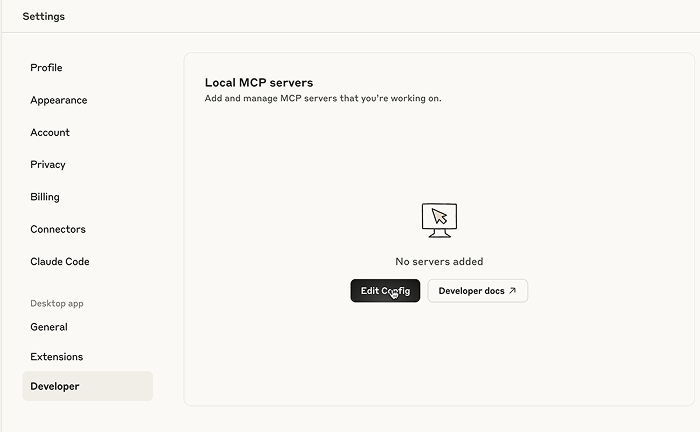
- Replace the content of the config file with the following block:
{
  "mcpServers": {
    "pinelabs-sse-mcp-server": {
      "command": "npx",
      "args": [
        "mcp-remote",
        "https://mcp.pinelabs.com/sse",
        "--header",
        "x-business-name:${BUSINESS_NAME}"
      ],
      "env": {
        "BUSINESS_NAME": "merchant_business_name"
      }
    }
  }
}
Note:
- Replace
merchant_business_namewith your actual business name in theenvobject.
Step 5: Apply Changes
- Save the configuration (config) file.
- Completely restart Claude Desktop.
- macOS:
⌘+Q - Windows/Linux:
Alt+F4
- macOS:
- Wait for the application to load (about 10-15 seconds).

VS Code Configuration
This setup enables code generation, debugging, and payment automation directly within your IDE.
Note
- On macOS, move Visual Studio Code to the Applications folder to enable MCP server configuration options.
- Ensure you're using the latest version of VS Code, as older versions may not fully support MCP integration.
- If you're using Microsoft Copilot for Microsoft 365 (formerly Copilot for Enterprise) or standard Copilot, make sure that MCP servers are enabled within Copilot settings.
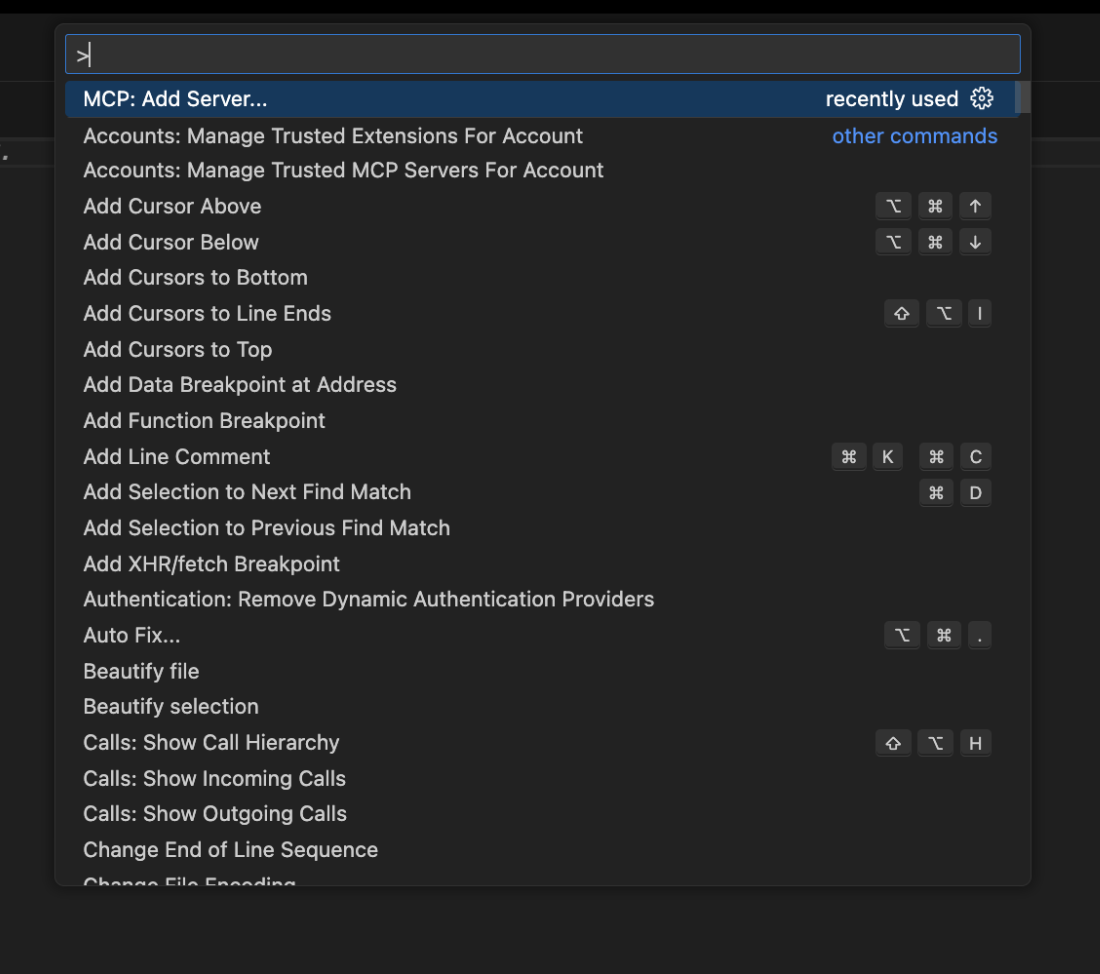
Step 1: Install MCP Extension for VS Code
- Open Visual Studio Code
- Launch the Command Palette:
- macOS:
Cmd + Shift + P - Windows/Linux:
Ctrl + Shift + P
- macOS:
- Search for:
MCP: Add Serverand select.
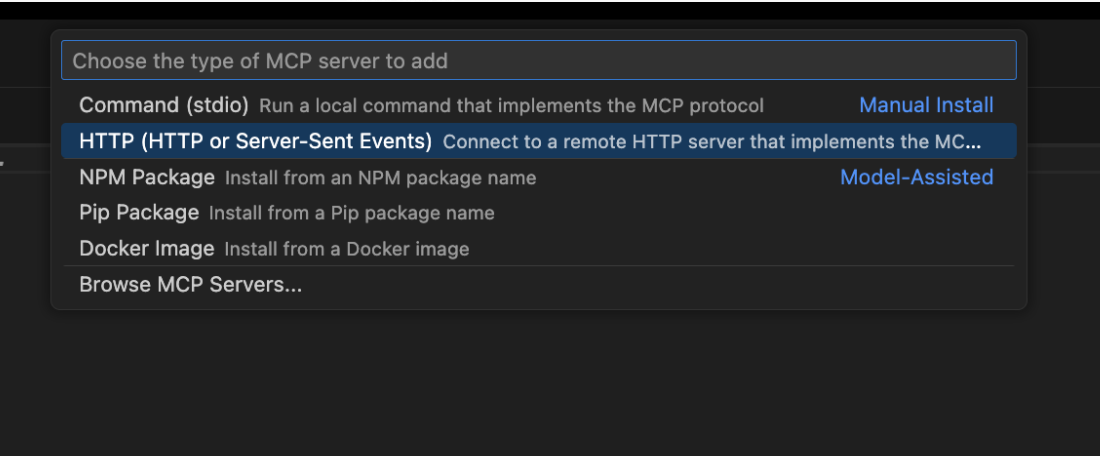
- Then Select :
HTTP( HTTP or Server-Sent Events).
Step 2: Configure Server Details
Configure the server with the below details.
- Server Name:
pinelabs-sse-mcp-server. - Server URL:
https://mcp.pinelabs.com/sse. - Description:
Pine Labs Payment API Integration.
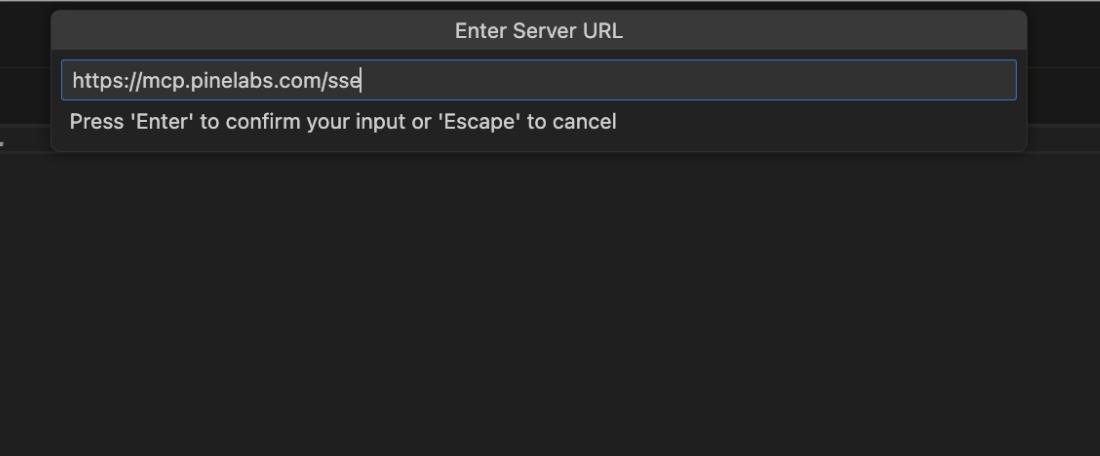
- Enter URL:
https://mcp.pinelabs.com/sseand select.
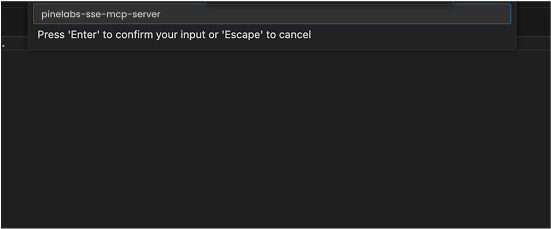
- Next select Server Name:
pinelabs-sse-mcp-server.
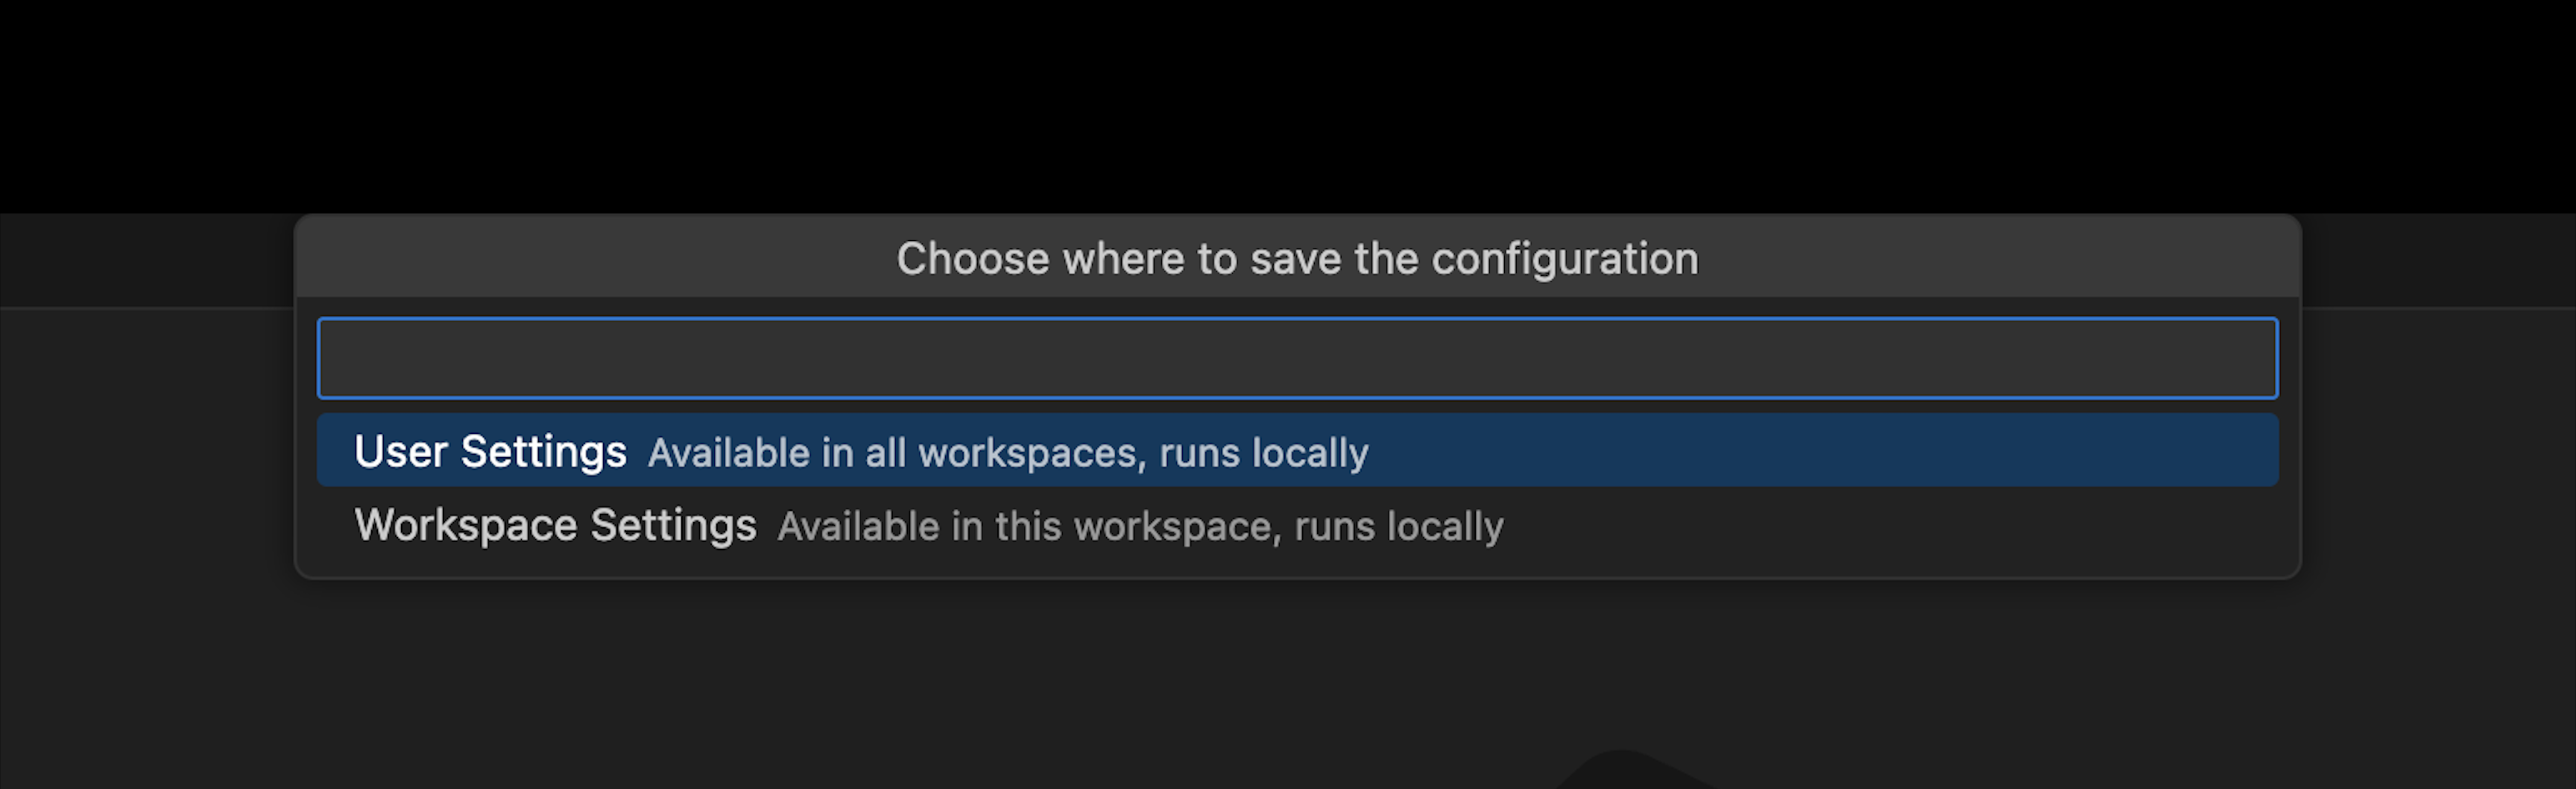
- Then choose the settings according to your requirements. You can choose either User Settings or Workspace Settings.
Step 3: Start the MCP Server
- Press Enter to confirm the configuration.
- Open the MCP Panel in VS Code.
- Click "Start Server".
{
  "mcp": {
    "servers": {
      "pinelabs-mcp-sse-server": {
        "type": "http",
        "url": "https://mcp.pinelabs.com/sse",
        "timeout": 30000,
        "retries": 2,
        "retryDelay": 1000,
        "keepAlive": true,
        "maxConcurrent": 3,
        "headers": {
          "x-business-name": "merchant_business_name"
        }
      }
    }
  }
}
Note:
- Replace
merchant_business_namewith your actual business name in theheadersobject.
- Confirm that the server status shows green "Connected" indicators.
- Restart the application, then enable Copilot's Agent Mode in VS Code.
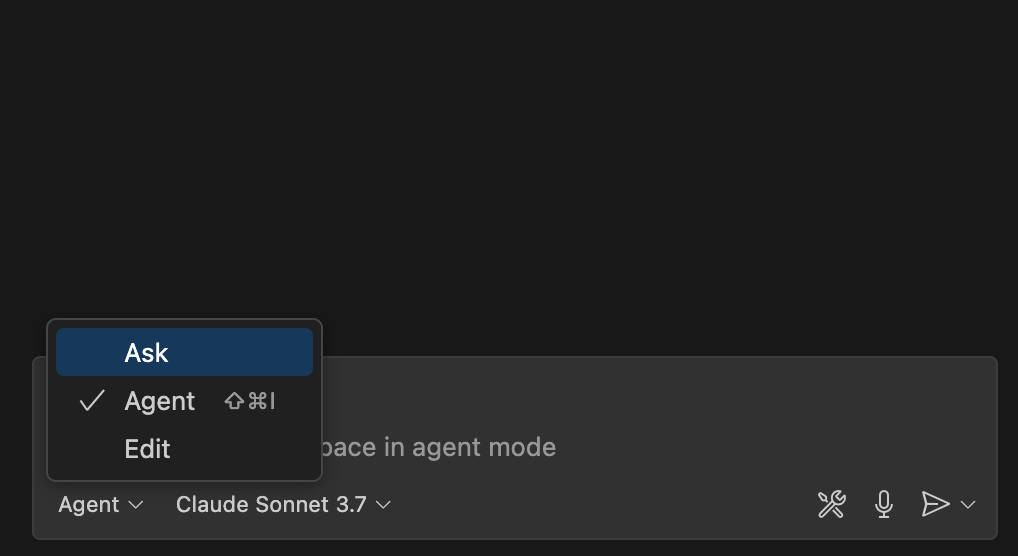
- Also, make sure that the Pine Labs MCP Server tools are selected and enabled.

Cursor Configuration
Ideal for AI-first developers looking for advanced coding assistance with seamless Pine Labs integration.
Step 1: Install Cursor
Get started by downloading and installing Cursor:
- Download the Cursor from Official website.
- Login to your Cursor account.
- Then navigate to setting and select MCP Tools tab.
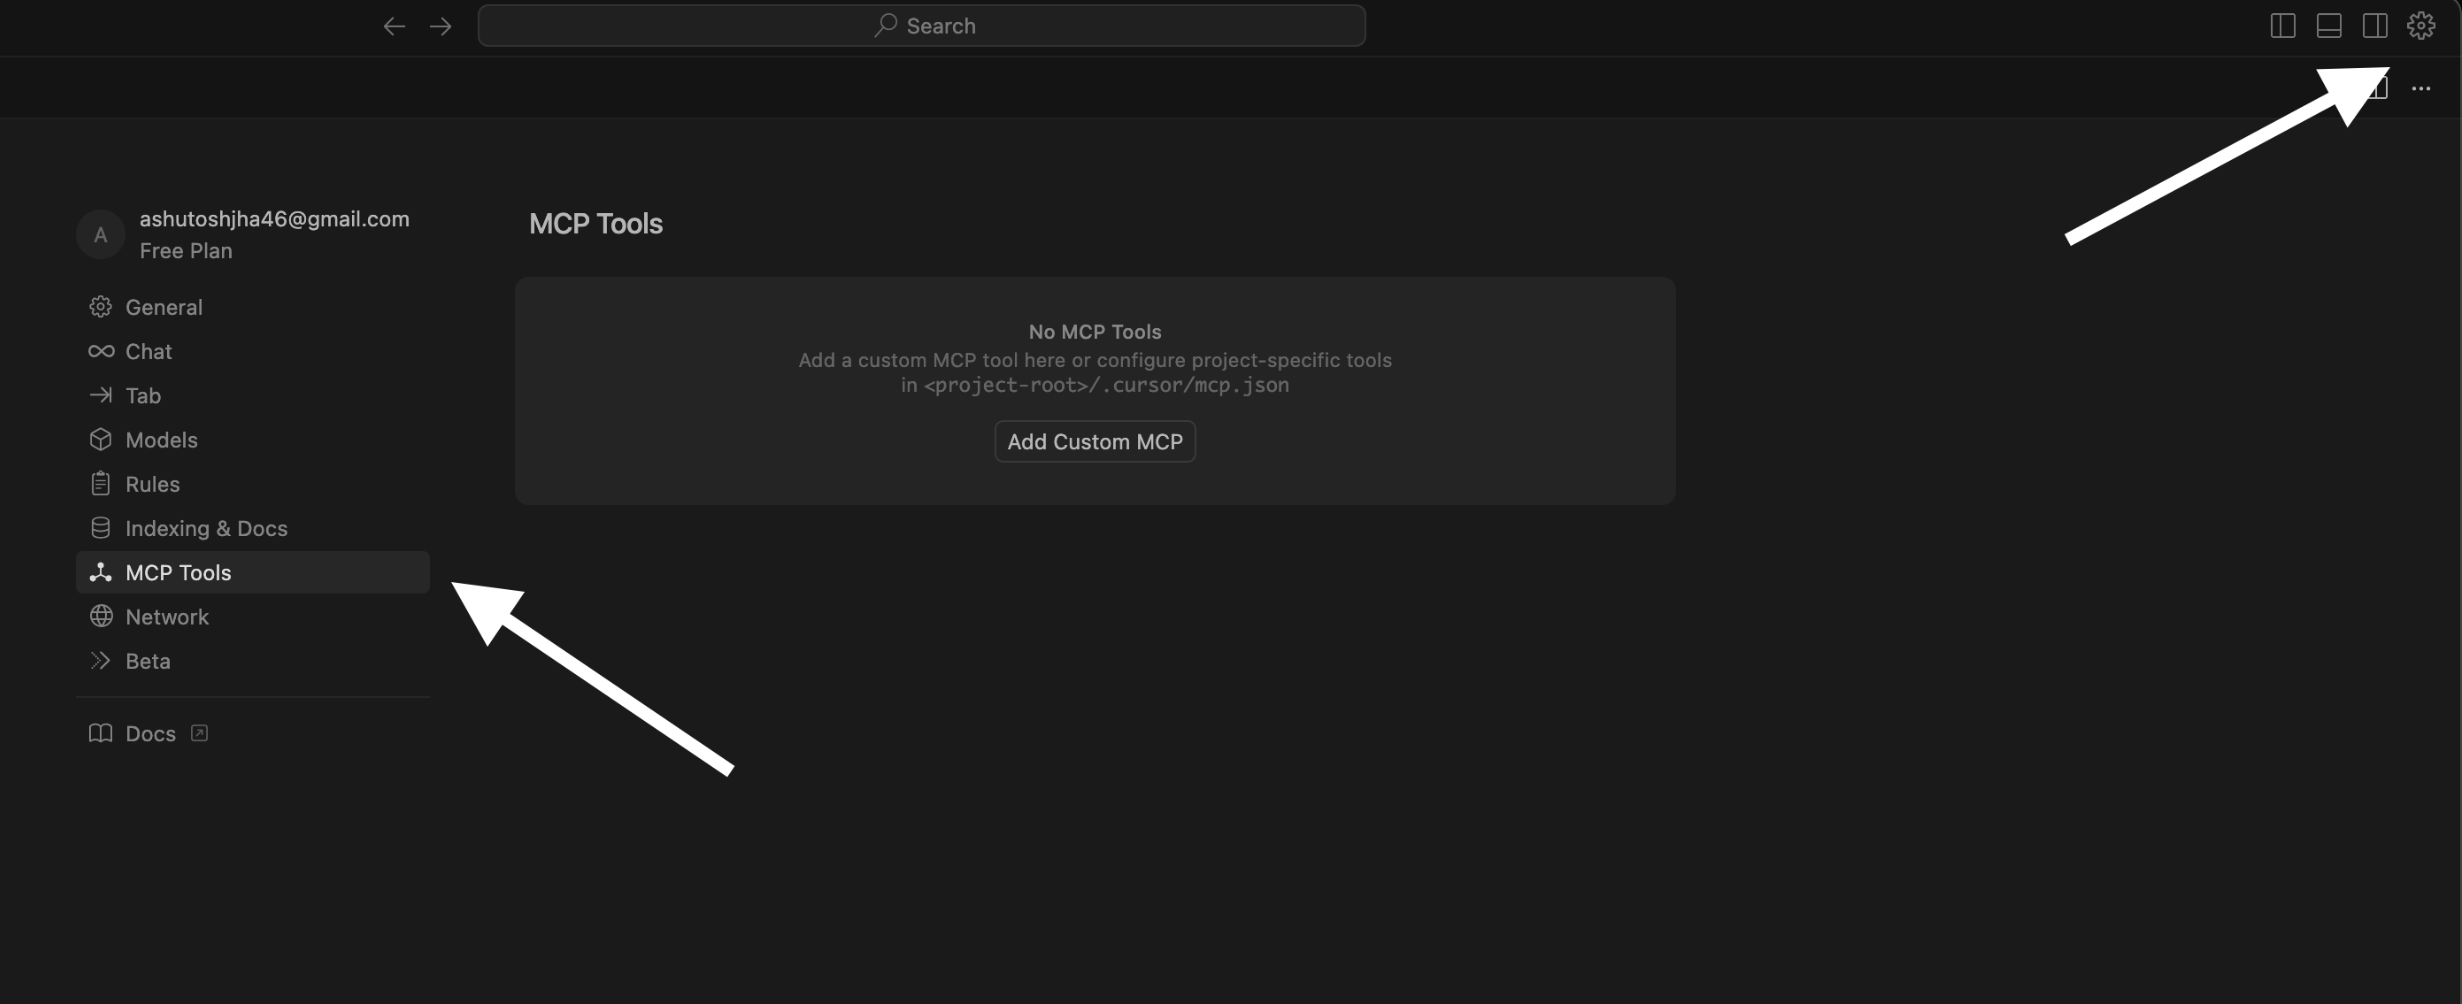
- Click “Add Custom MCP”, then paste the following JSON into the
mcp.jsonfile and save your changes.
{
  "mcpServers": {
    "Pine": {
      "url": "https://mcp.pinelabs.com/sse",
      "headers": {
        "x-business-name": "merchant_business_name"
      }
    }
  }
}
Note:
- Replace
merchant_business_namewith your actual business name in theheadersobject.
Once the MCP servers are successfully connected, a green indicator icon will appear next to each connected server, confirming the active connection.
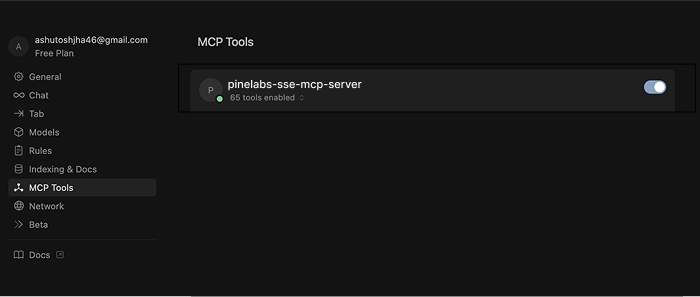
You can use the cursor chat to utilize the Pine Labs Online MCP Server.
Resources
Updated 7 days ago